

As the babies approached their six month birthday, we knew spoon feeds were impending. It’s not that we aren’t absolutely excited to introduce new flavors and textures to the babies, but we know it’s going to bring new challenges. Over the past few months, we settled into a really nice feeding schedule with bottles at 8, 11, 2, 5, and 8. Spoon feeds will inevitably interfere with our tried and true routine (in a good way eventually). A jar of baby food won’t last one feed in this house so we will also be making our own baby foods. That means even more work preparing feeds. As it is, George spends roughly 30 minutes nightly preparing formula for the next 24 hours. On a positive note, making baby food will make us eat healthier because we will be well stocked with fresh produce.
And the biggest challenge related to spoon feeds….where and how to feed four babies! High chairs were never under consideration. Four of them would be pricey and there is NO space for them in our kitchen anyways. My original plan was to buy feeding seats to attach to our kitchen chairs. Feeding seats would be relatively inexpensive, portable, and space saving. However, our kitchen table is round and there’s no way one person could reach all the babies if feeding them alone. I am alone with the babies 3-5 days of the week so practicality is imperative. A few months ago, there was chatter among quad moms about feeding tables. A lot of them raved about them so we started browsing the options. There are companies that make commercial grade quad feeding tables. However, these tables are primarily marketed to daycare and school settings. They are very practical and durable. They are also unattractive and expensive. In order to house a quad table, we had to sacrifice our kitchen table. Keeping that in mind, we wanted something sturdy, practical, and easy to clean, but that was not an eye sore either. Thus, the idea of building a quad table was born. We ordered red replacement seats for the commercial feeding tables from Just Multiples for $30 each. Shortly after ordering our seats, I heard it through the grapevine that fellow quad mama, Traci’s father recently built a feeding table for her quads. Traci was kind enough to share their plans, which George used loosely. Also, George was able to chat with Traci’s father for a few tips.
Just Multiples sells a commercial grade table for $575
Here is a list of the materials George used with a cost breakdown:
- plywood $60
- two 4 x 8 beams $22
- wood filler $3
- stain $12
- wood glue $3
- four 2 packs of corner braces $16
- sandpaper $6
- Liquid Nails $3
- four replacement toddler table seats $120
- paint FREE- we already had it!
- miscellaneous woodworking tools FREE- we already had them
- GRAND TOTAL $230
As you can see, we saved several hundred dollars making custom table that fits our breakfast nook perfectly! Below George attached pictures with step by step explanations of how he fabricated our table.

I began by gathering my materials in order to layout my design. Two sheets of 3/4″ cabinet grade plywood and two 8X4″ beams.

Next I began to layout my design using a rough set of plans from the Dvorak’s.

Then I used a jigsaw and carved out my design. I clamped both pieces together and cut both at the same time.

I used the seats to decide where to place my holes.

After cutting both pieces I cut out special openings to allow for the seat to snap into place; this is the bottom piece. Note: In hindsight I’d make this hole 9 1/2 ” by 9 1/2″ square because the top piece will be 8 1/2″ by 8 1/2″ square and will cover this opening.

I used wood glue to press both pieces of wood together and I allowed this to sit for two days.
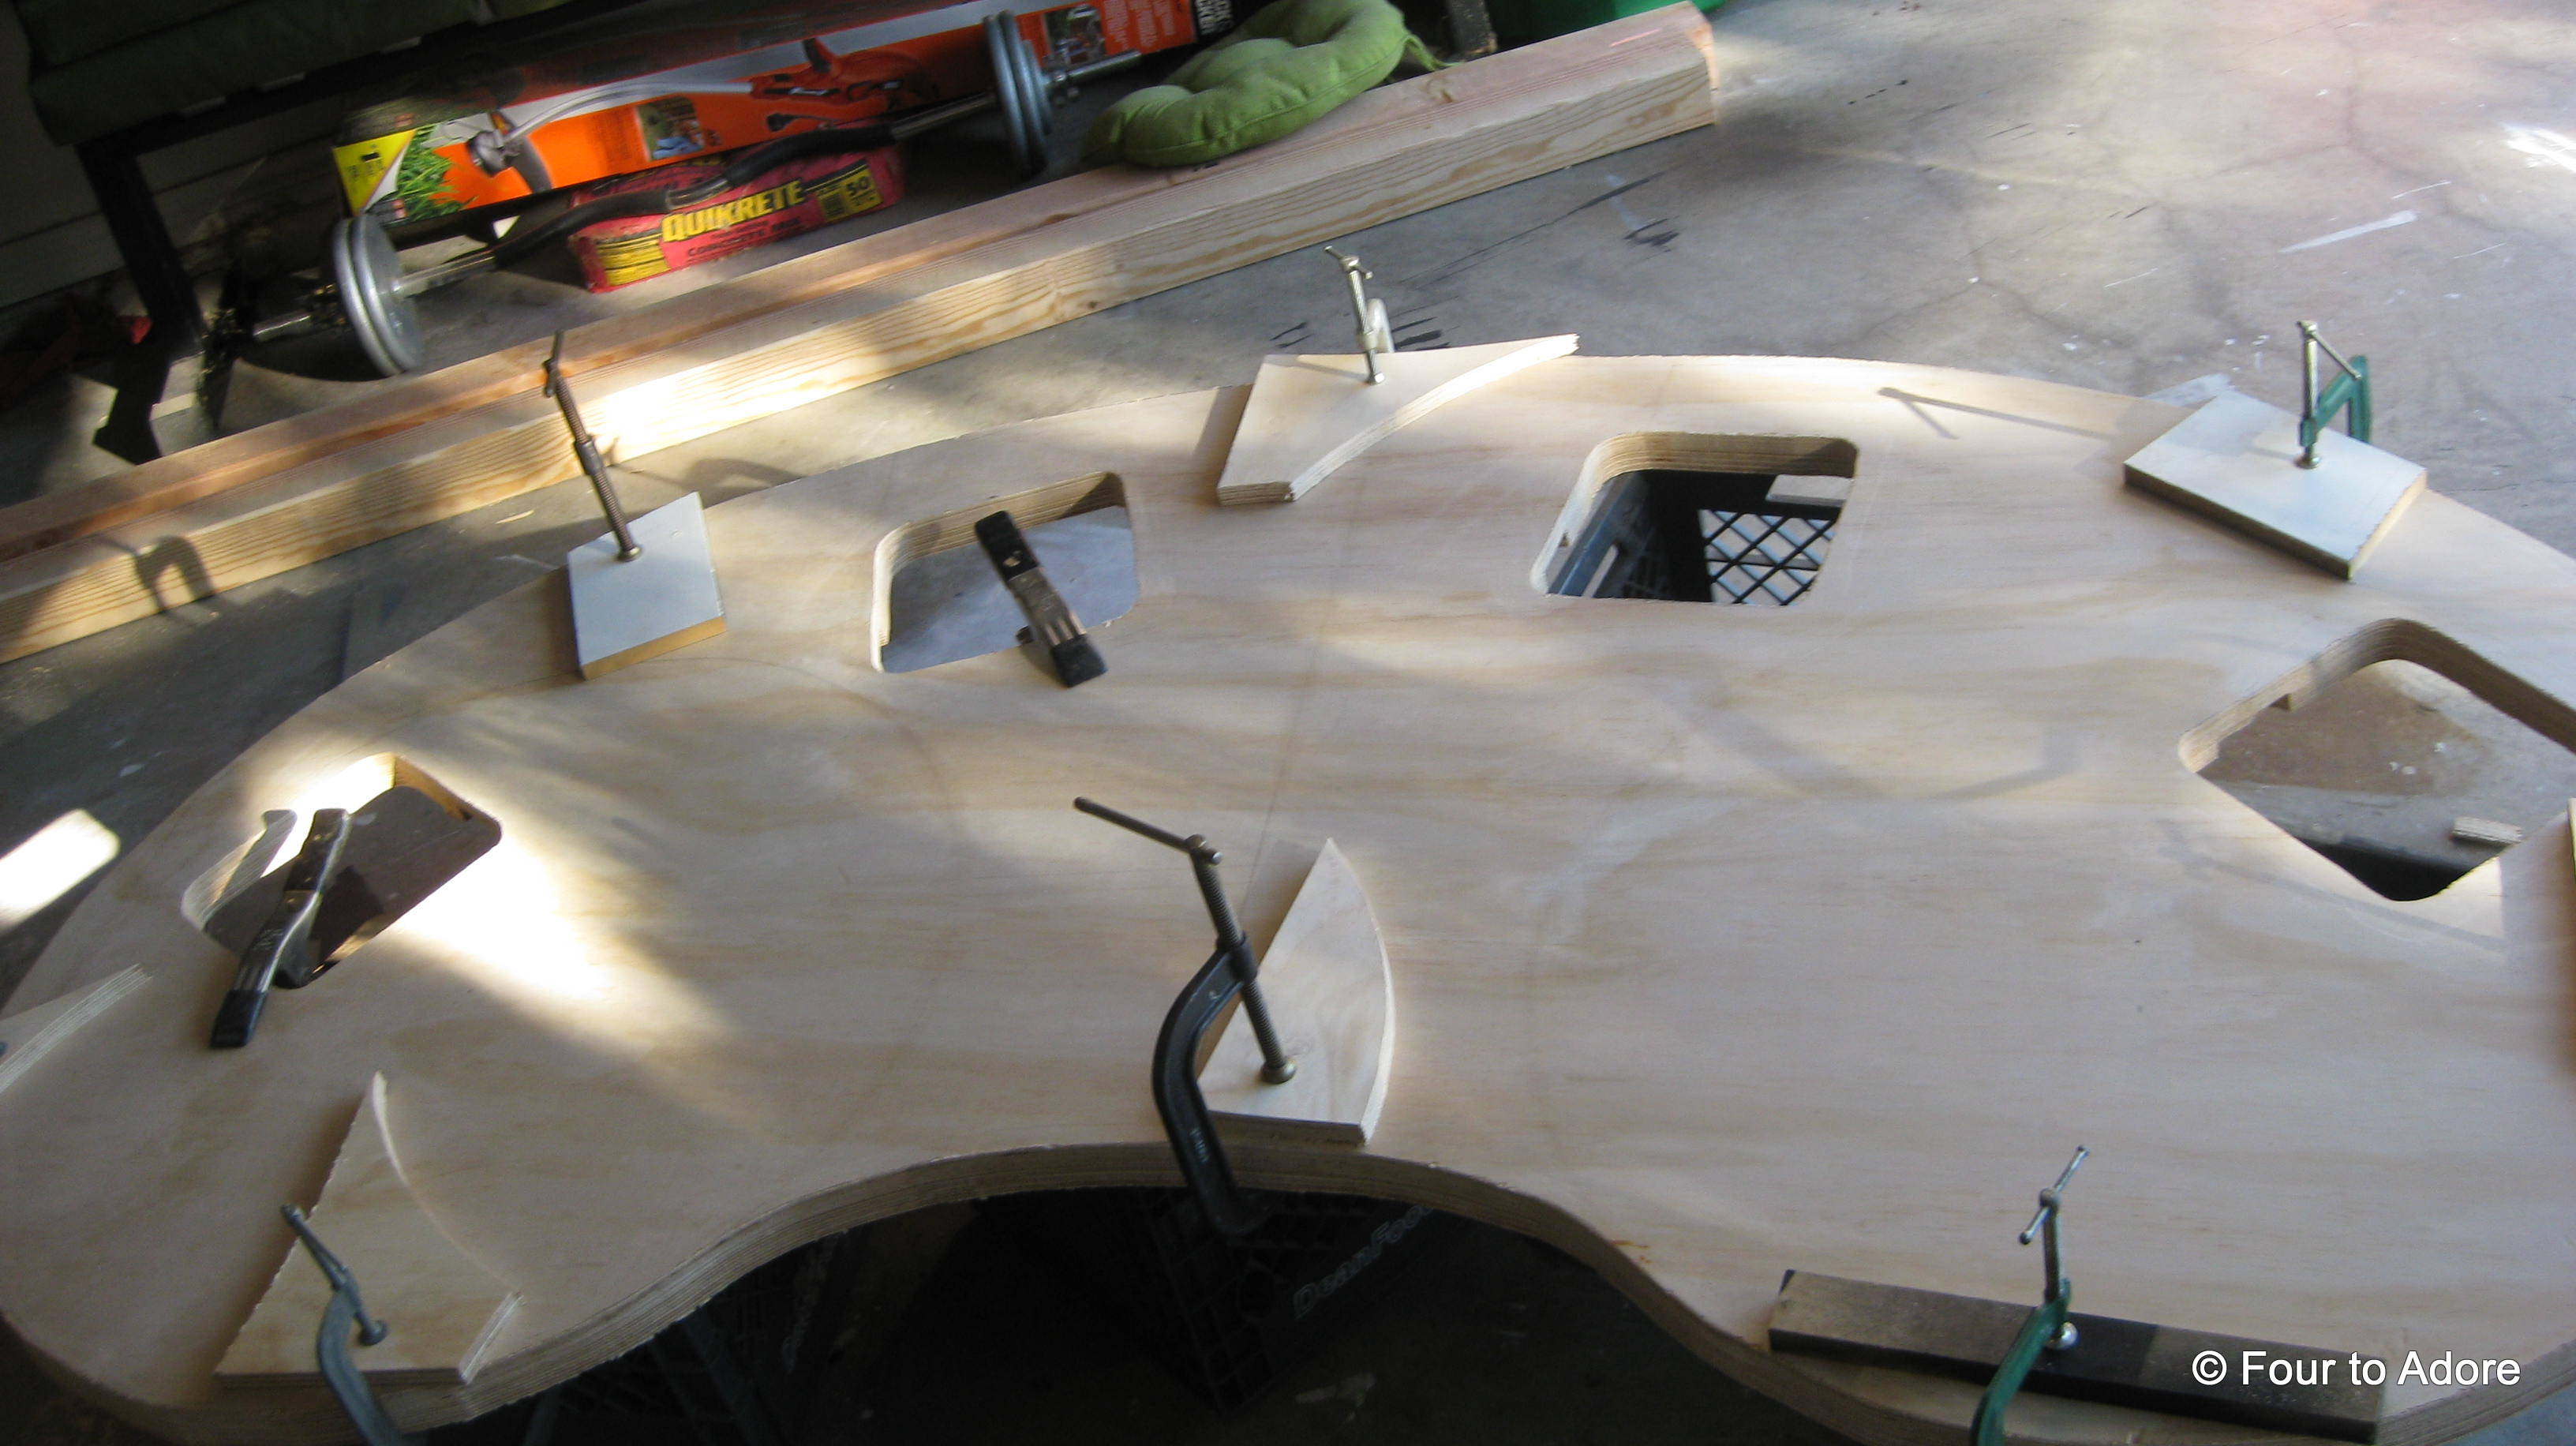
I used clamps to make sure everything went together smoothly. Wood has a tendency to warp.

I used a miter saw to cut down the legs to size. All are 29″ long.

Here are the four legs cut to size. Notice how they are sanded down.

I bought a dowel rod and cut 8 individual pieces. This will be used in the next step.
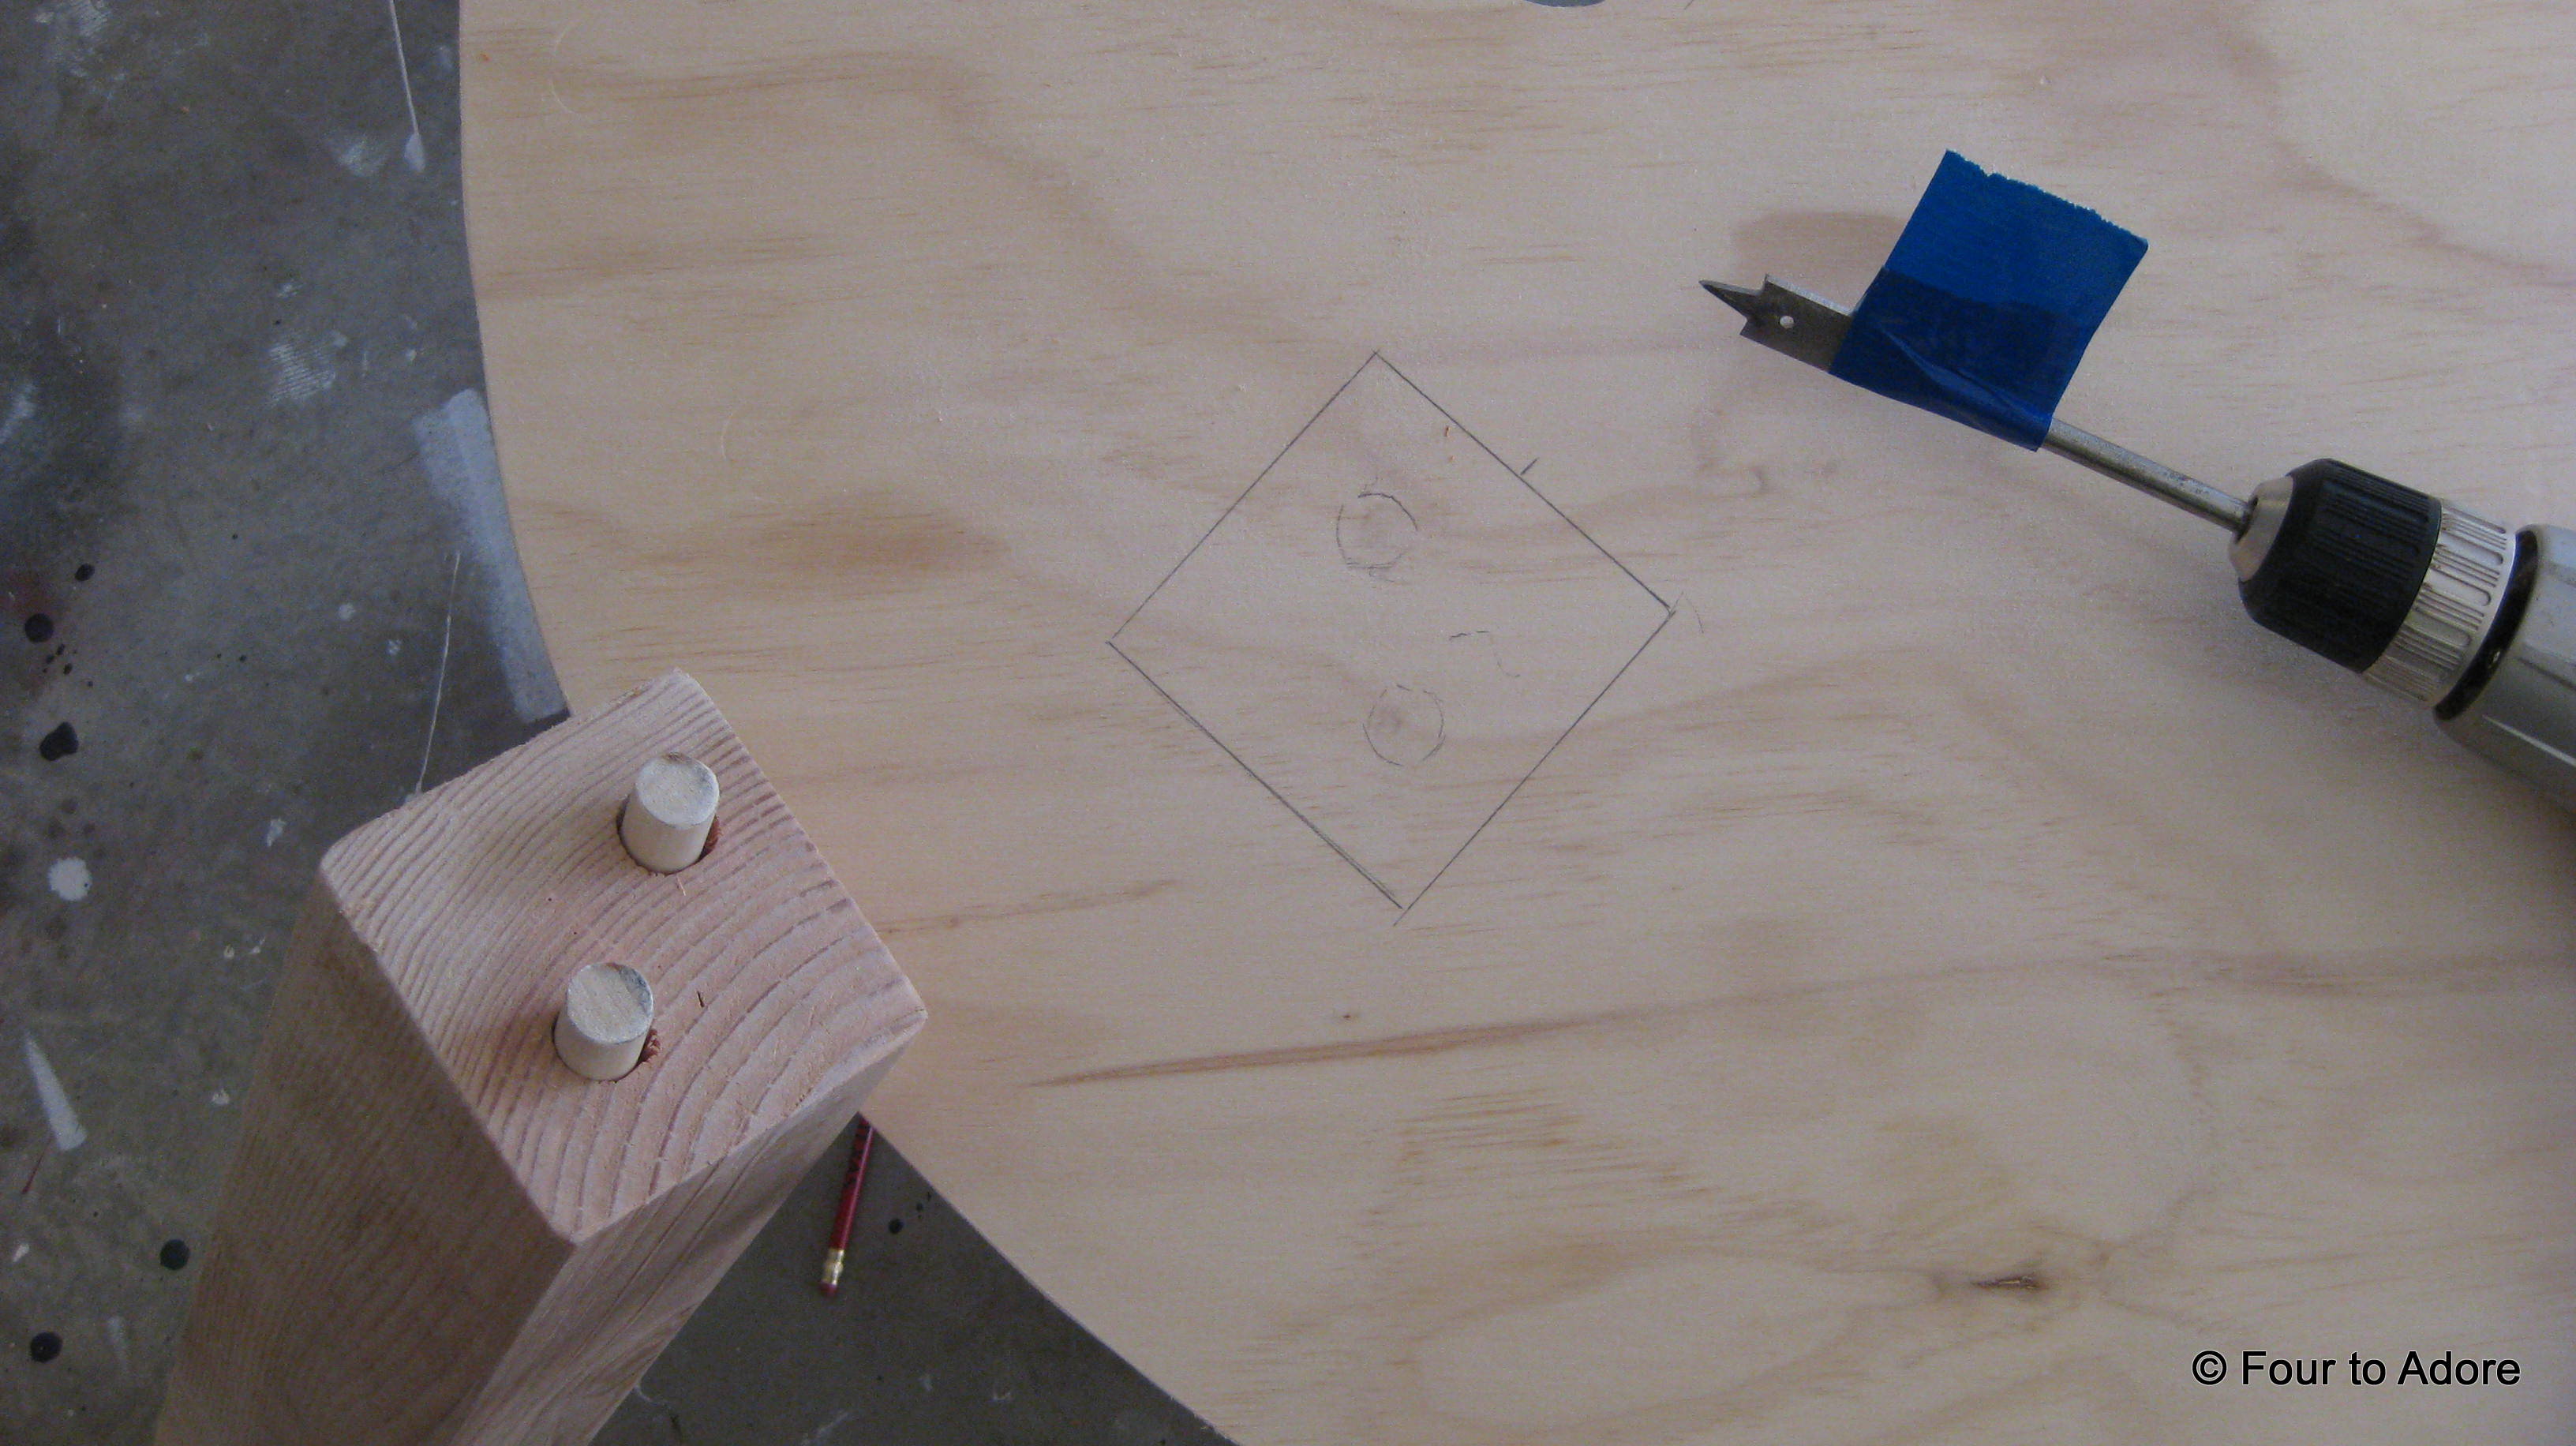
I used a drill to make holes in the leg and into the underneath of the table. Notice how I wrapped tape around the drill bit to give me a guide so that I did not go through the table.

Next I used wood glue to glue in the dowel rods and then Liquid Nails to secure the legs to the table. I used weights to make sure it went down properly. I let this sit overnight to cure.
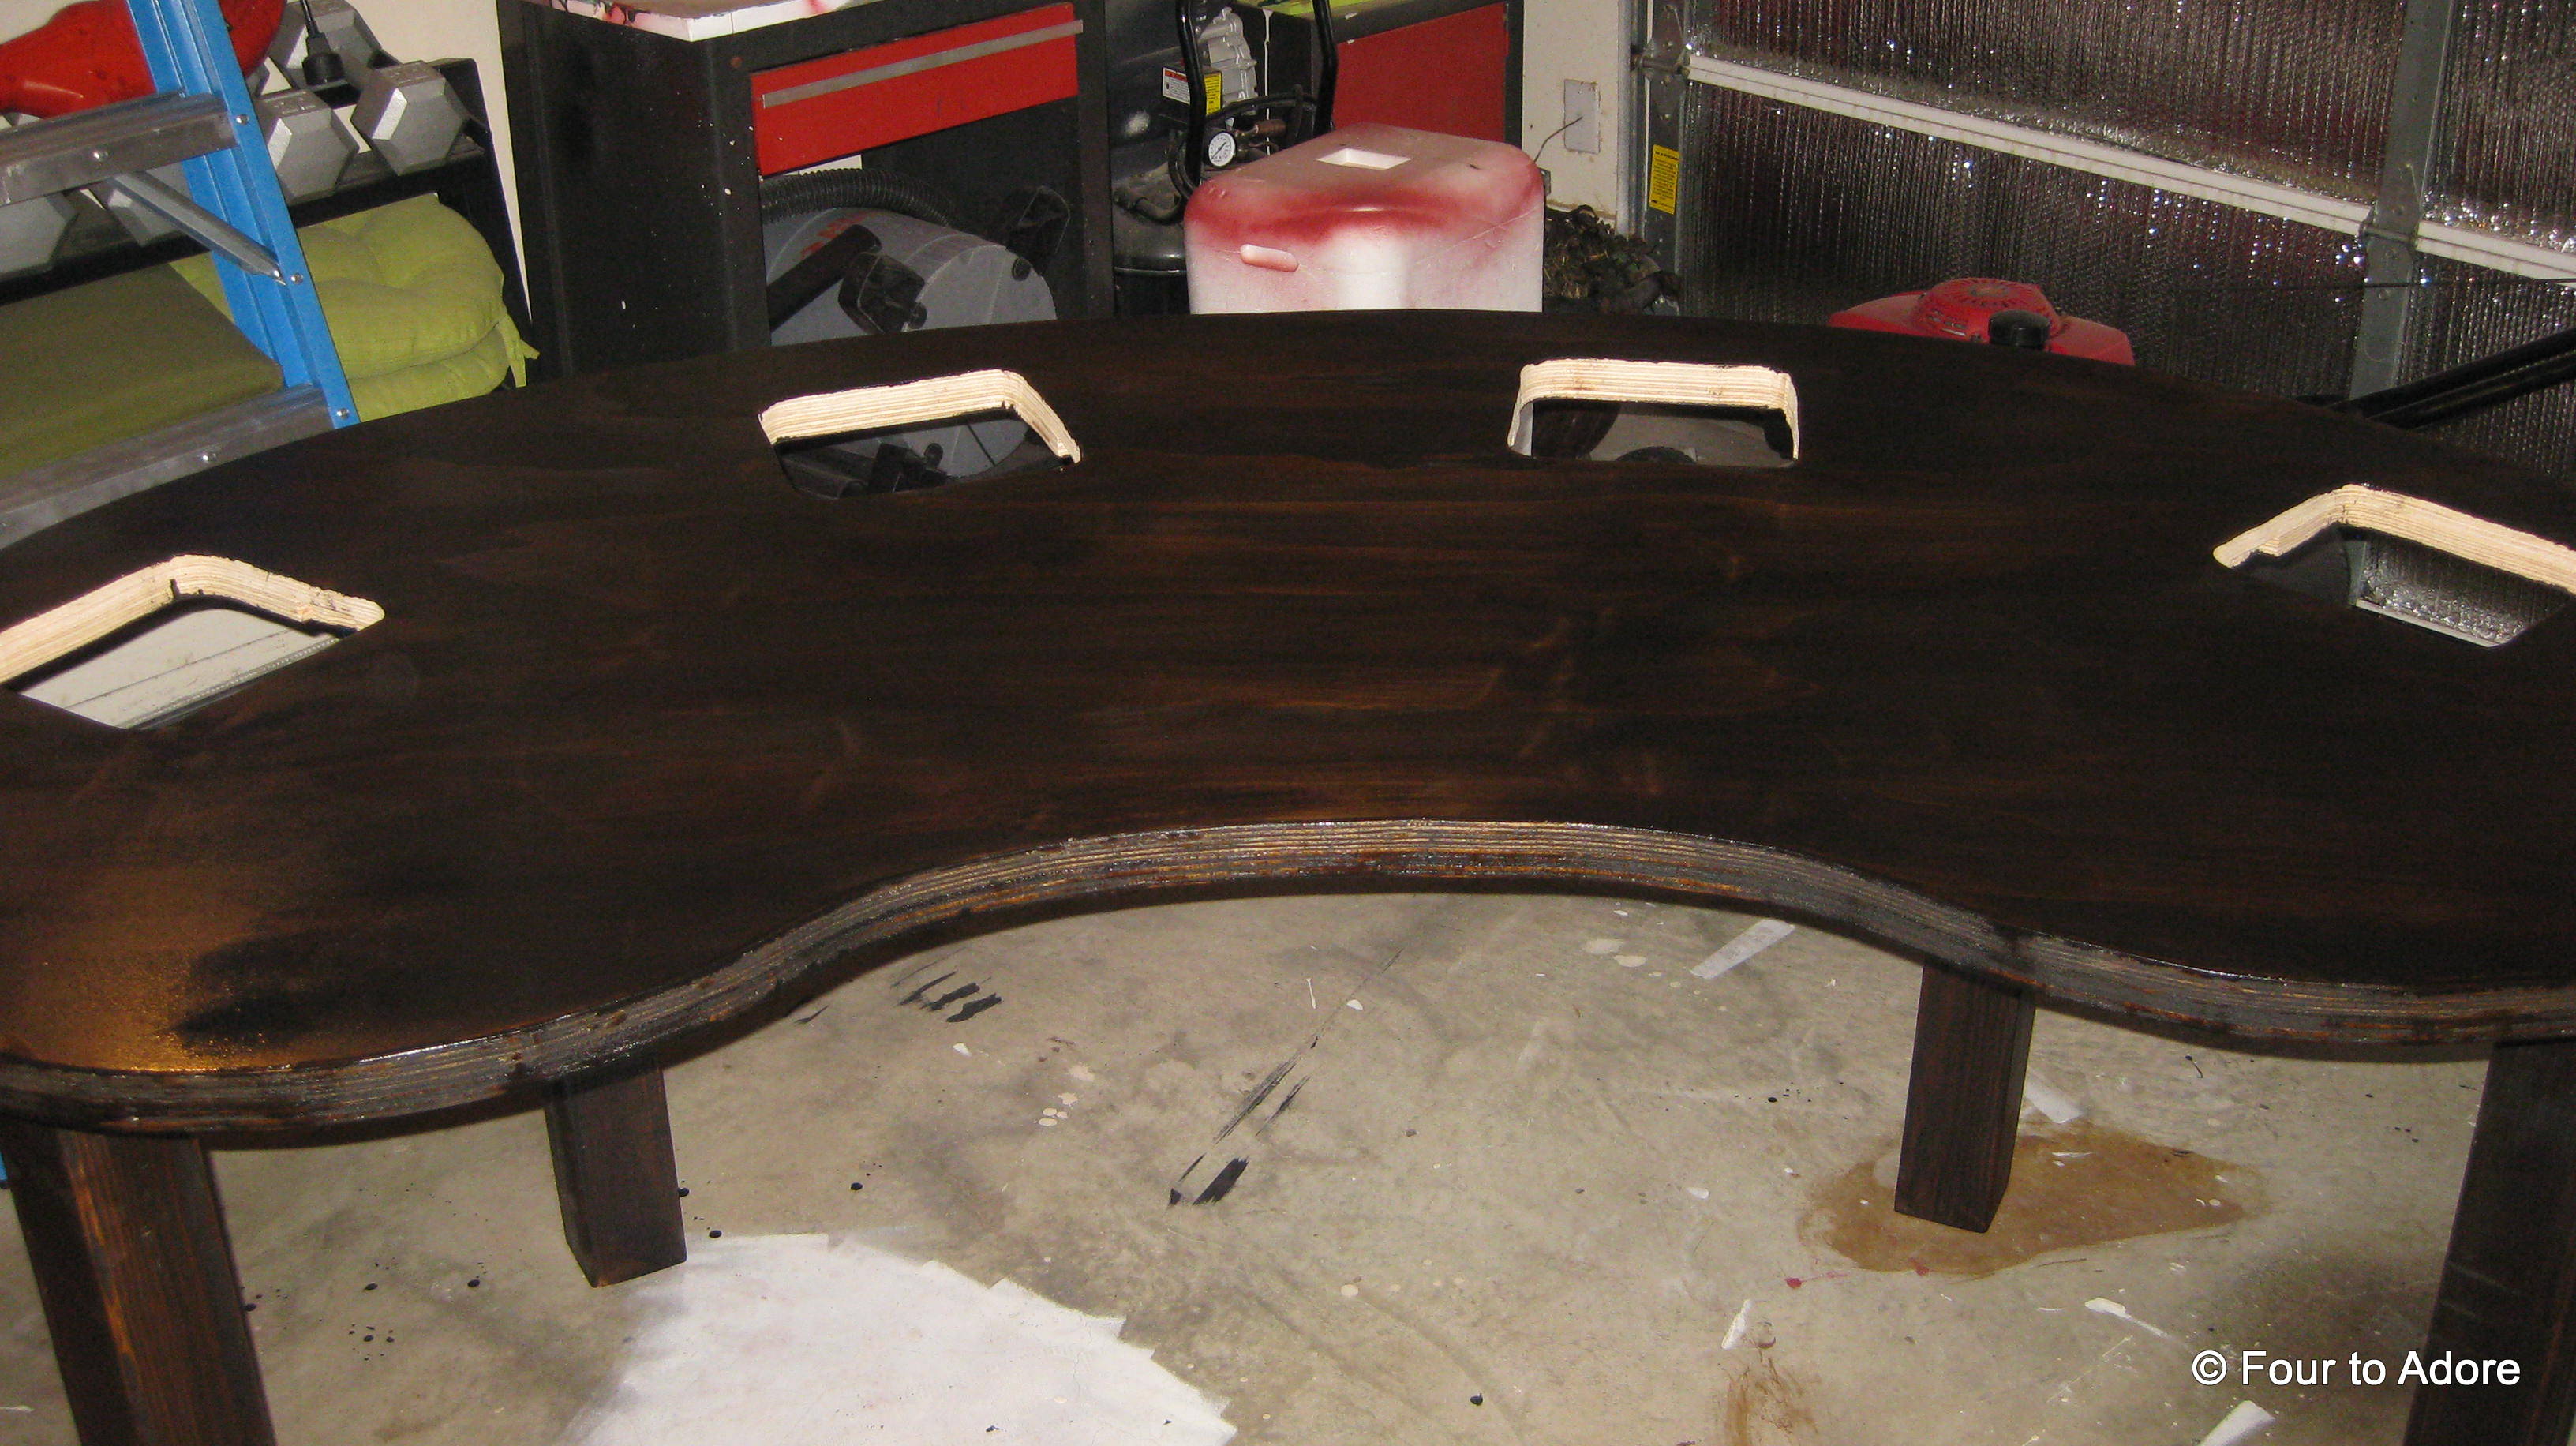
The next morning I sanded the table down for hours. I then applied the first coat of stain.

I also used these brackets to secure the legs to the table again. I wanted to make sure nothing moved.

I then brought the table into the house to see how it fit in order to make last minute changes.
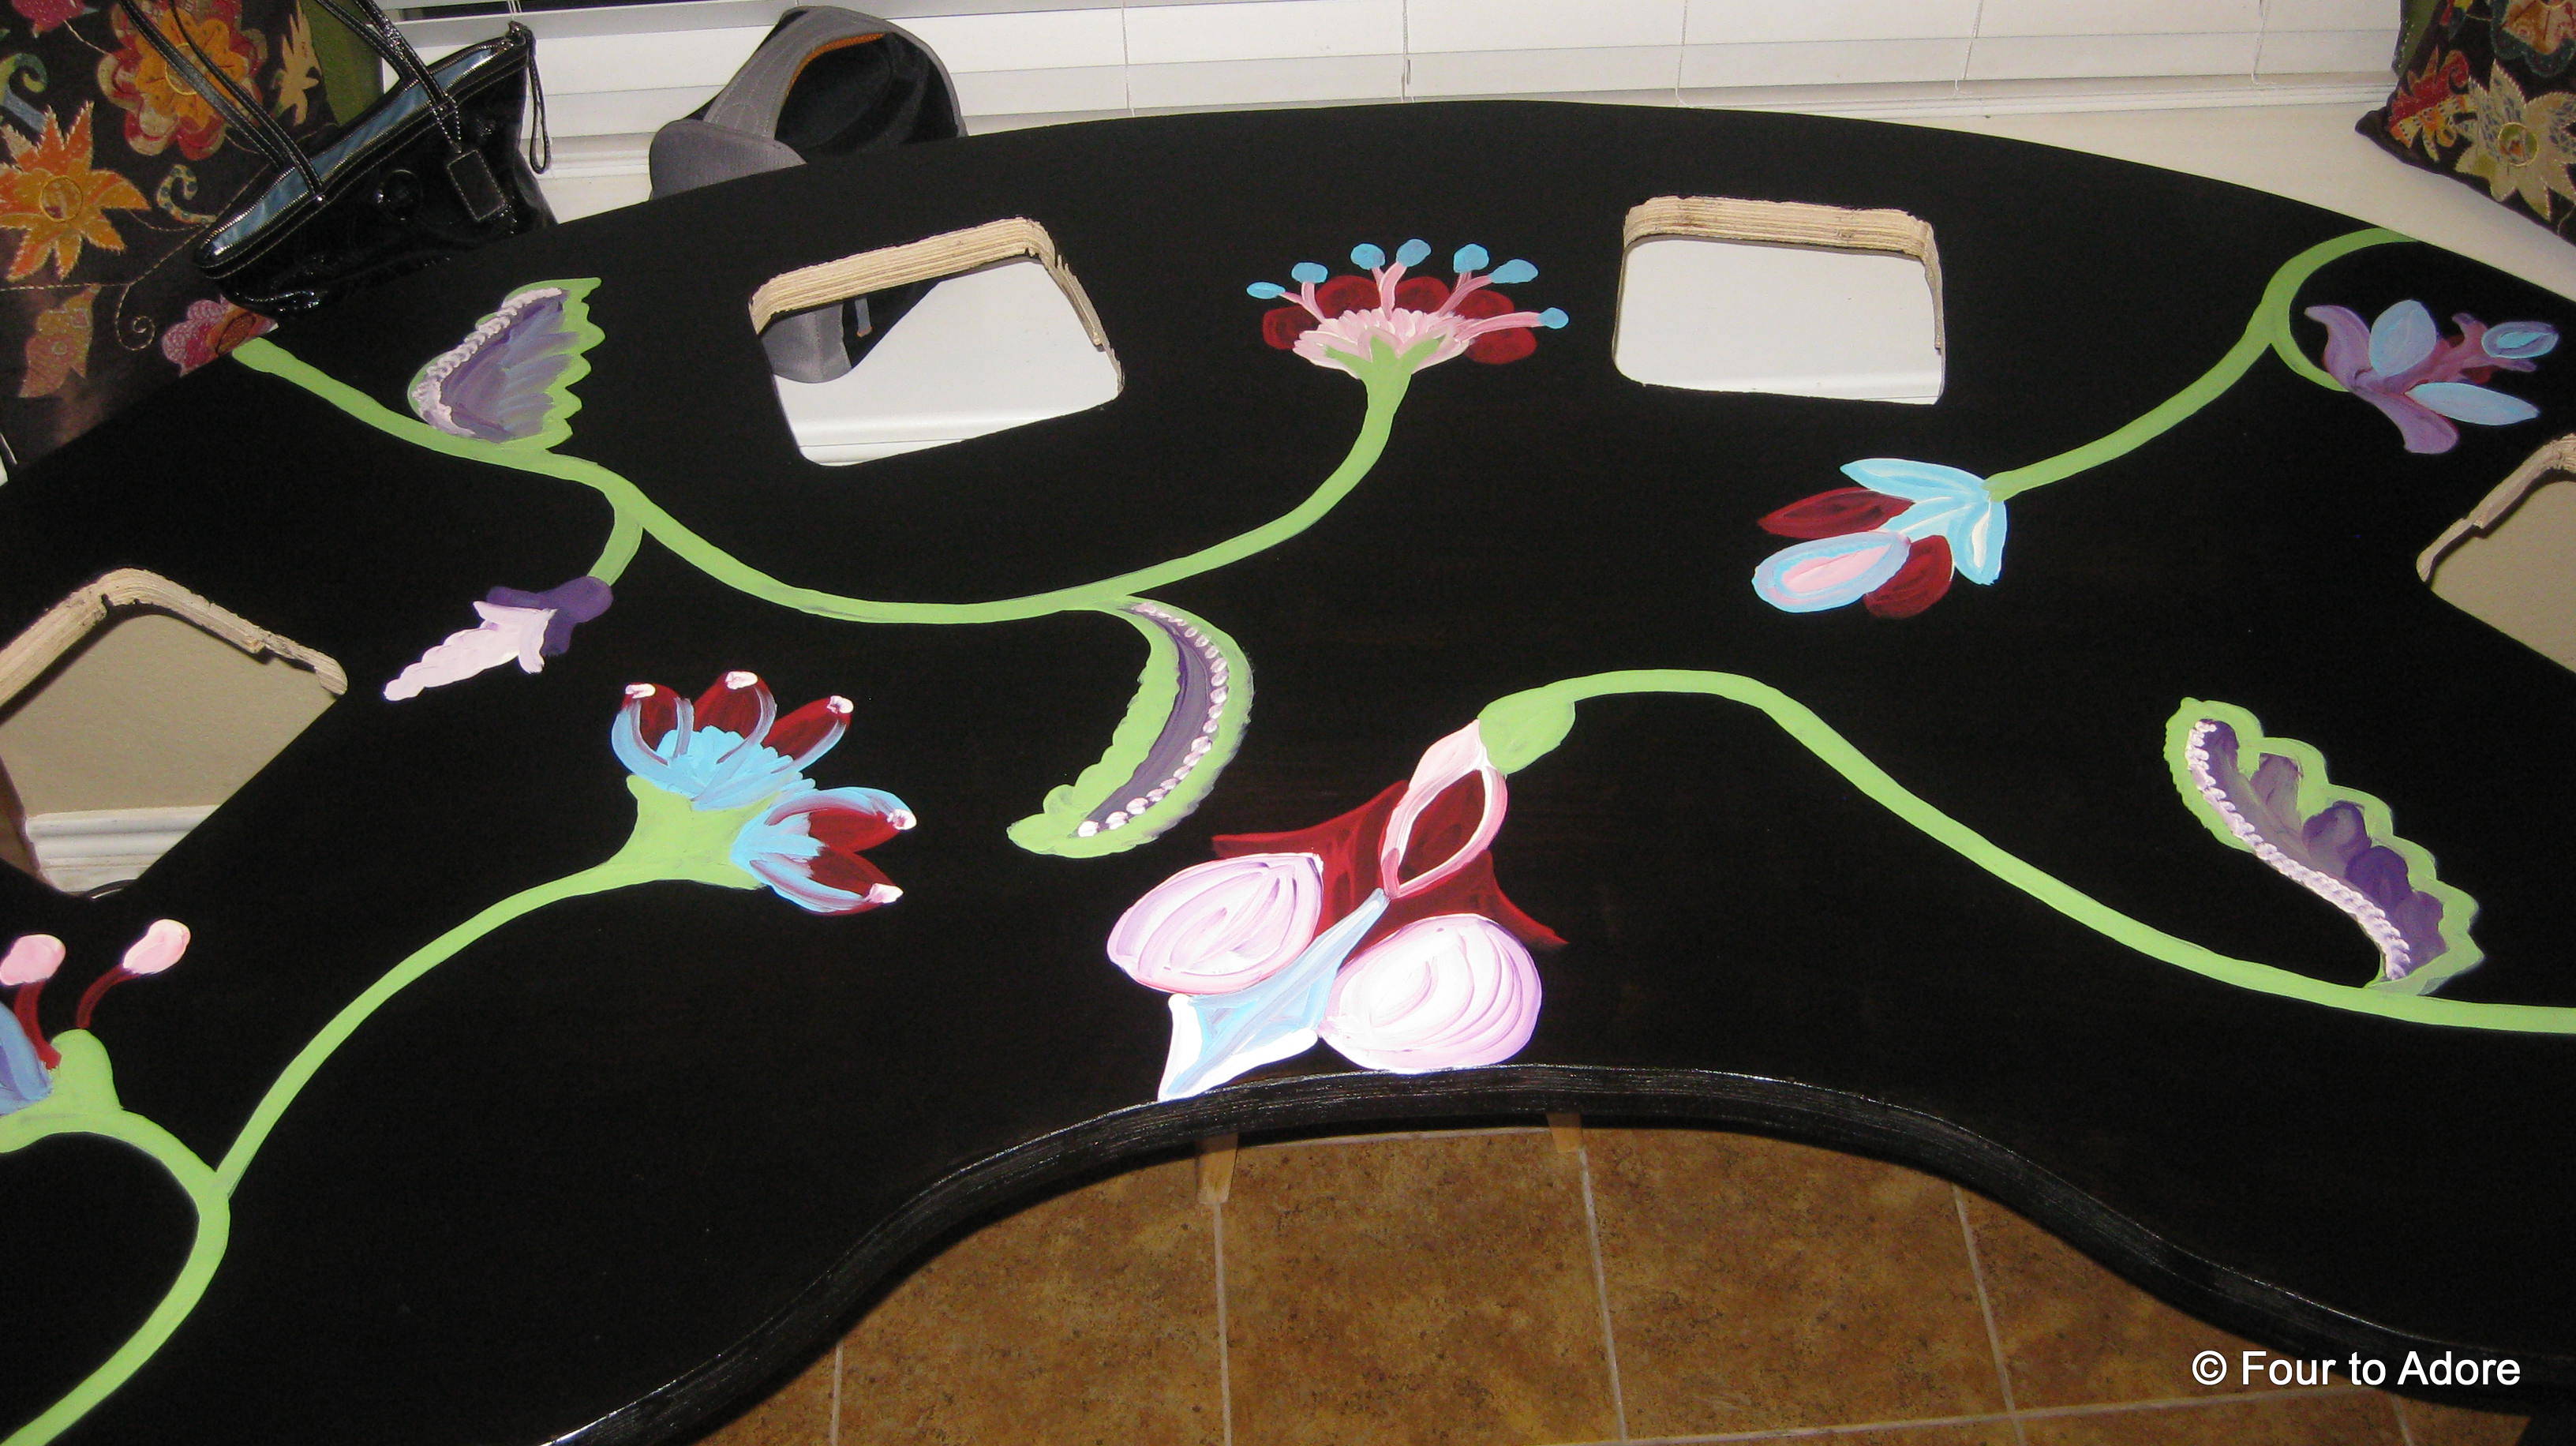
Amber was afraid the table would look like a “sea of brown” and wanted me to match our living room rug so I painted a little design on the top. It was a good idea. After all, there will never be place mats, center pieces, or table runners on this table! Paint was a good way to liven it up a bit.

Here is another angle after I applied a coat of polyurethane.

And here it is all done in it’s splendor. Never in a million years did I ever think I would make one of these.

This one shows all of the dimensions I used.

To make sure the table could handle the weight of four babies or toddlers, George perched on top of it.
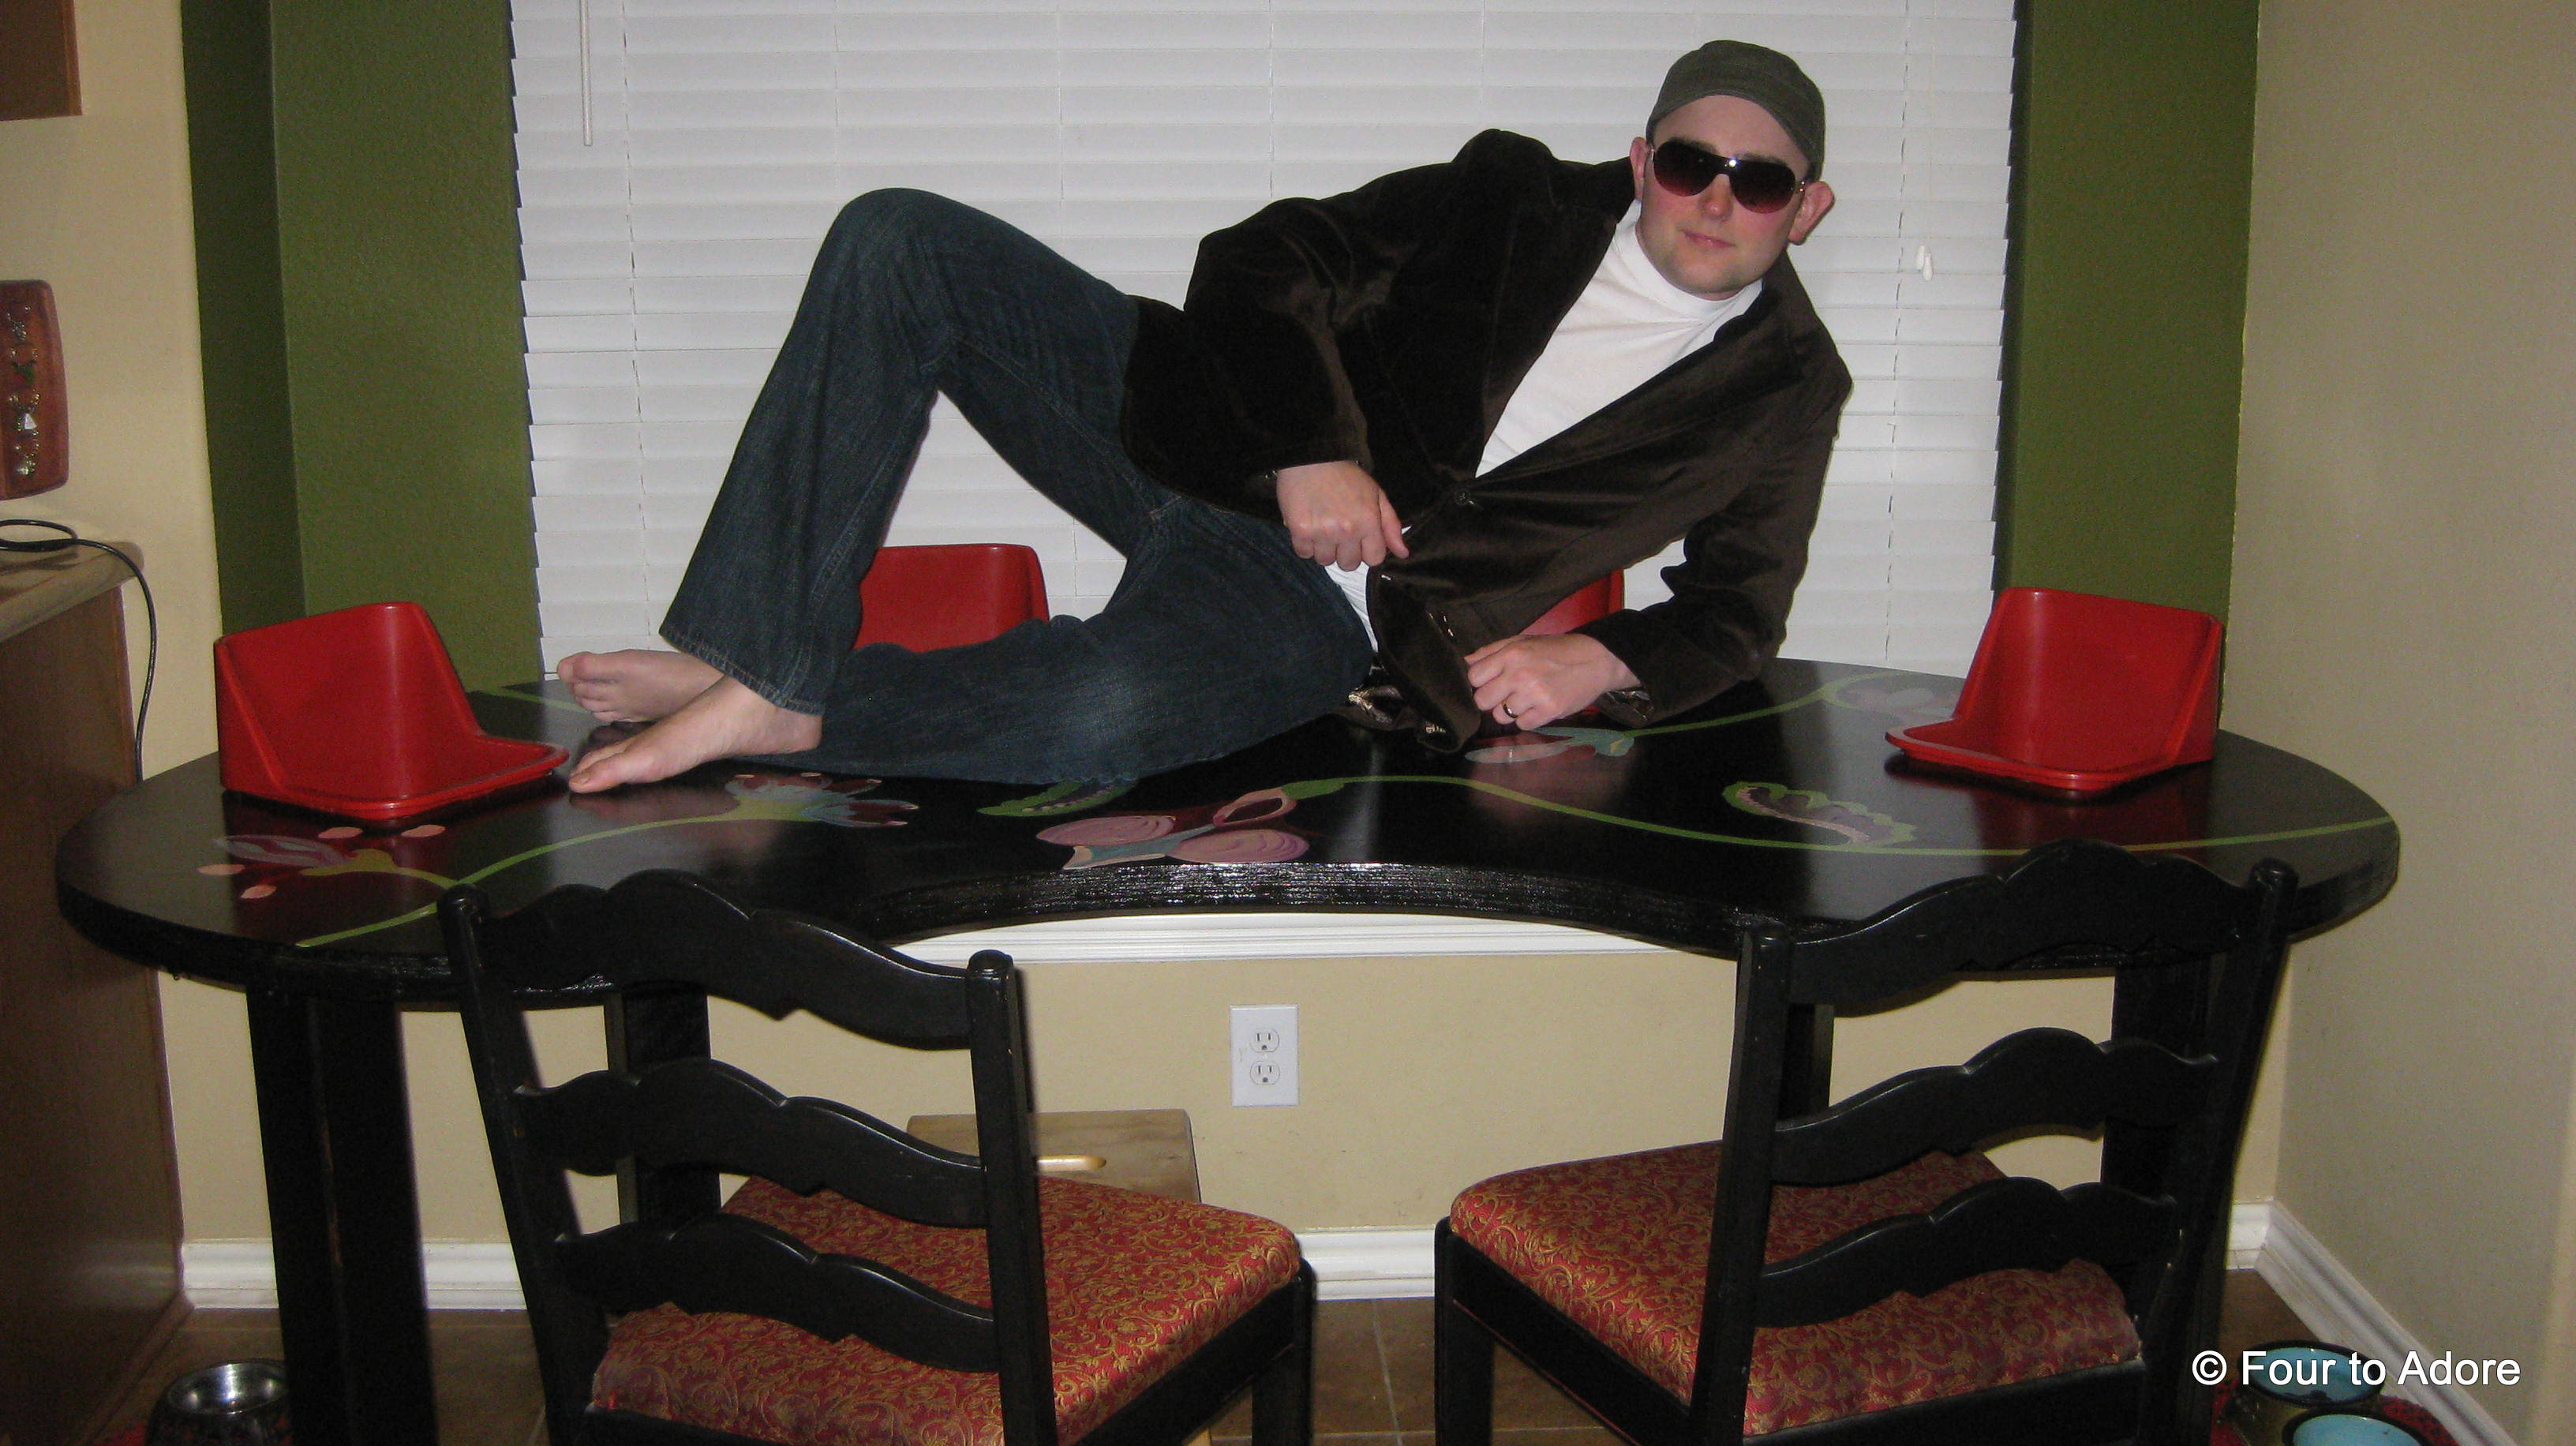
He also sprawled across the thing like some sort of gangster, maybe the Quad Father. Should be good for a gang of quads.
Now that the table is ready to go, we just have to figure out how to pad the babies in so they can use it ASAP. We realize the seats aren’t intended for six month old preemies, they are really for toddlers. However, we figured if George was going to go through the effort of making a table, we might as well use it as long as possible. Stay tuned for spoon feed updates and pictures with messy babies!
hugs!
Amber (and George)
Update….we used old baby bath towels to pad the babies into their seats until they sat up well enough independently. They outgrew the quad table after their second birthday and we now use a family dinner table with restaurant high chairs.


Awesome George (&Amber!). It is the best looking quad table I have ever seen. Now if you could just figure out a design for 9 people to sit at the table with the convenience of the quad table. I would live one but would have to get rid of our table which then makes the rest of us eating on the floor!
LikeLike
If you have a really long dining room, I bet he could design a long table with quad seats embedded in the middle with cutouts for mom and dad on the opposite side. Seriously, I don’t know what you are going to do for a table for nine! Just amazing.
LikeLike
I think it’s the coolest….not sure about the gangs’ta, but the guy that made “this” table has talent. How lucky these babies are to have you and Amber for parents. (Of course I know luck has nothing to do with it)
LikeLike
Thanks, Carol! You’ll be putting it to use tomorrow :). Hope you love it!
LikeLike
Amber and George-the table looks awesome! The babies will love looking at the painting on the table,too. I cannot wait to see it in use!
LikeLike
Thank you! I agree, the painting will make it interesting for them. They sat in it for the first time this am, will try a feed at lunch!
LikeLike
Very cool! Way to go, George!
LikeLike
George, you rock!!!
LikeLike
He does!
LikeLike
That’s awesome, y’all did a great job!!!
LikeLike
Thanks!
LikeLike
George, I consider myself pretty handy with tools and making things (and making up things) but your design, your work and your painstaking care in building the feeding table is remarkable! Joe
LikeLike
You are good Joe! I bet you could make one, if you had too. George learned all of these special skills from his granddaddy and I hope he will teach our kids someday.
LikeLike
Can’t wait to try it out on Friday along with my sidekick,Terri.It’s precious.and I was really happy to see the gangster on it Now I know I won’t have to worry about it tipping. You know us grandmas!!!!!!! AWESOME. JOB GEORGE.
LikeLike
You are so talented, George! wow
LikeLike
That is great! Very impressive. Go George!
LikeLike
He did a fantastic job! I don’t know what we’d do without this table.
LikeLike
[…] were old enough for spoon feeds we needed something to accommodate them. Our solution was to build our own quad feeding table and store our original table in the attic. With four infants being spoon fed, the quad table […]
LikeLike
Brilliant, and beautiful to boot. For tiny babies, could you cut down boppy pillows?
LikeLike
Thank you! You probably could use cut down boppy pillows, but they are so expensive I’d hate to cut them up…bath towels are cheap =)
LikeLike