
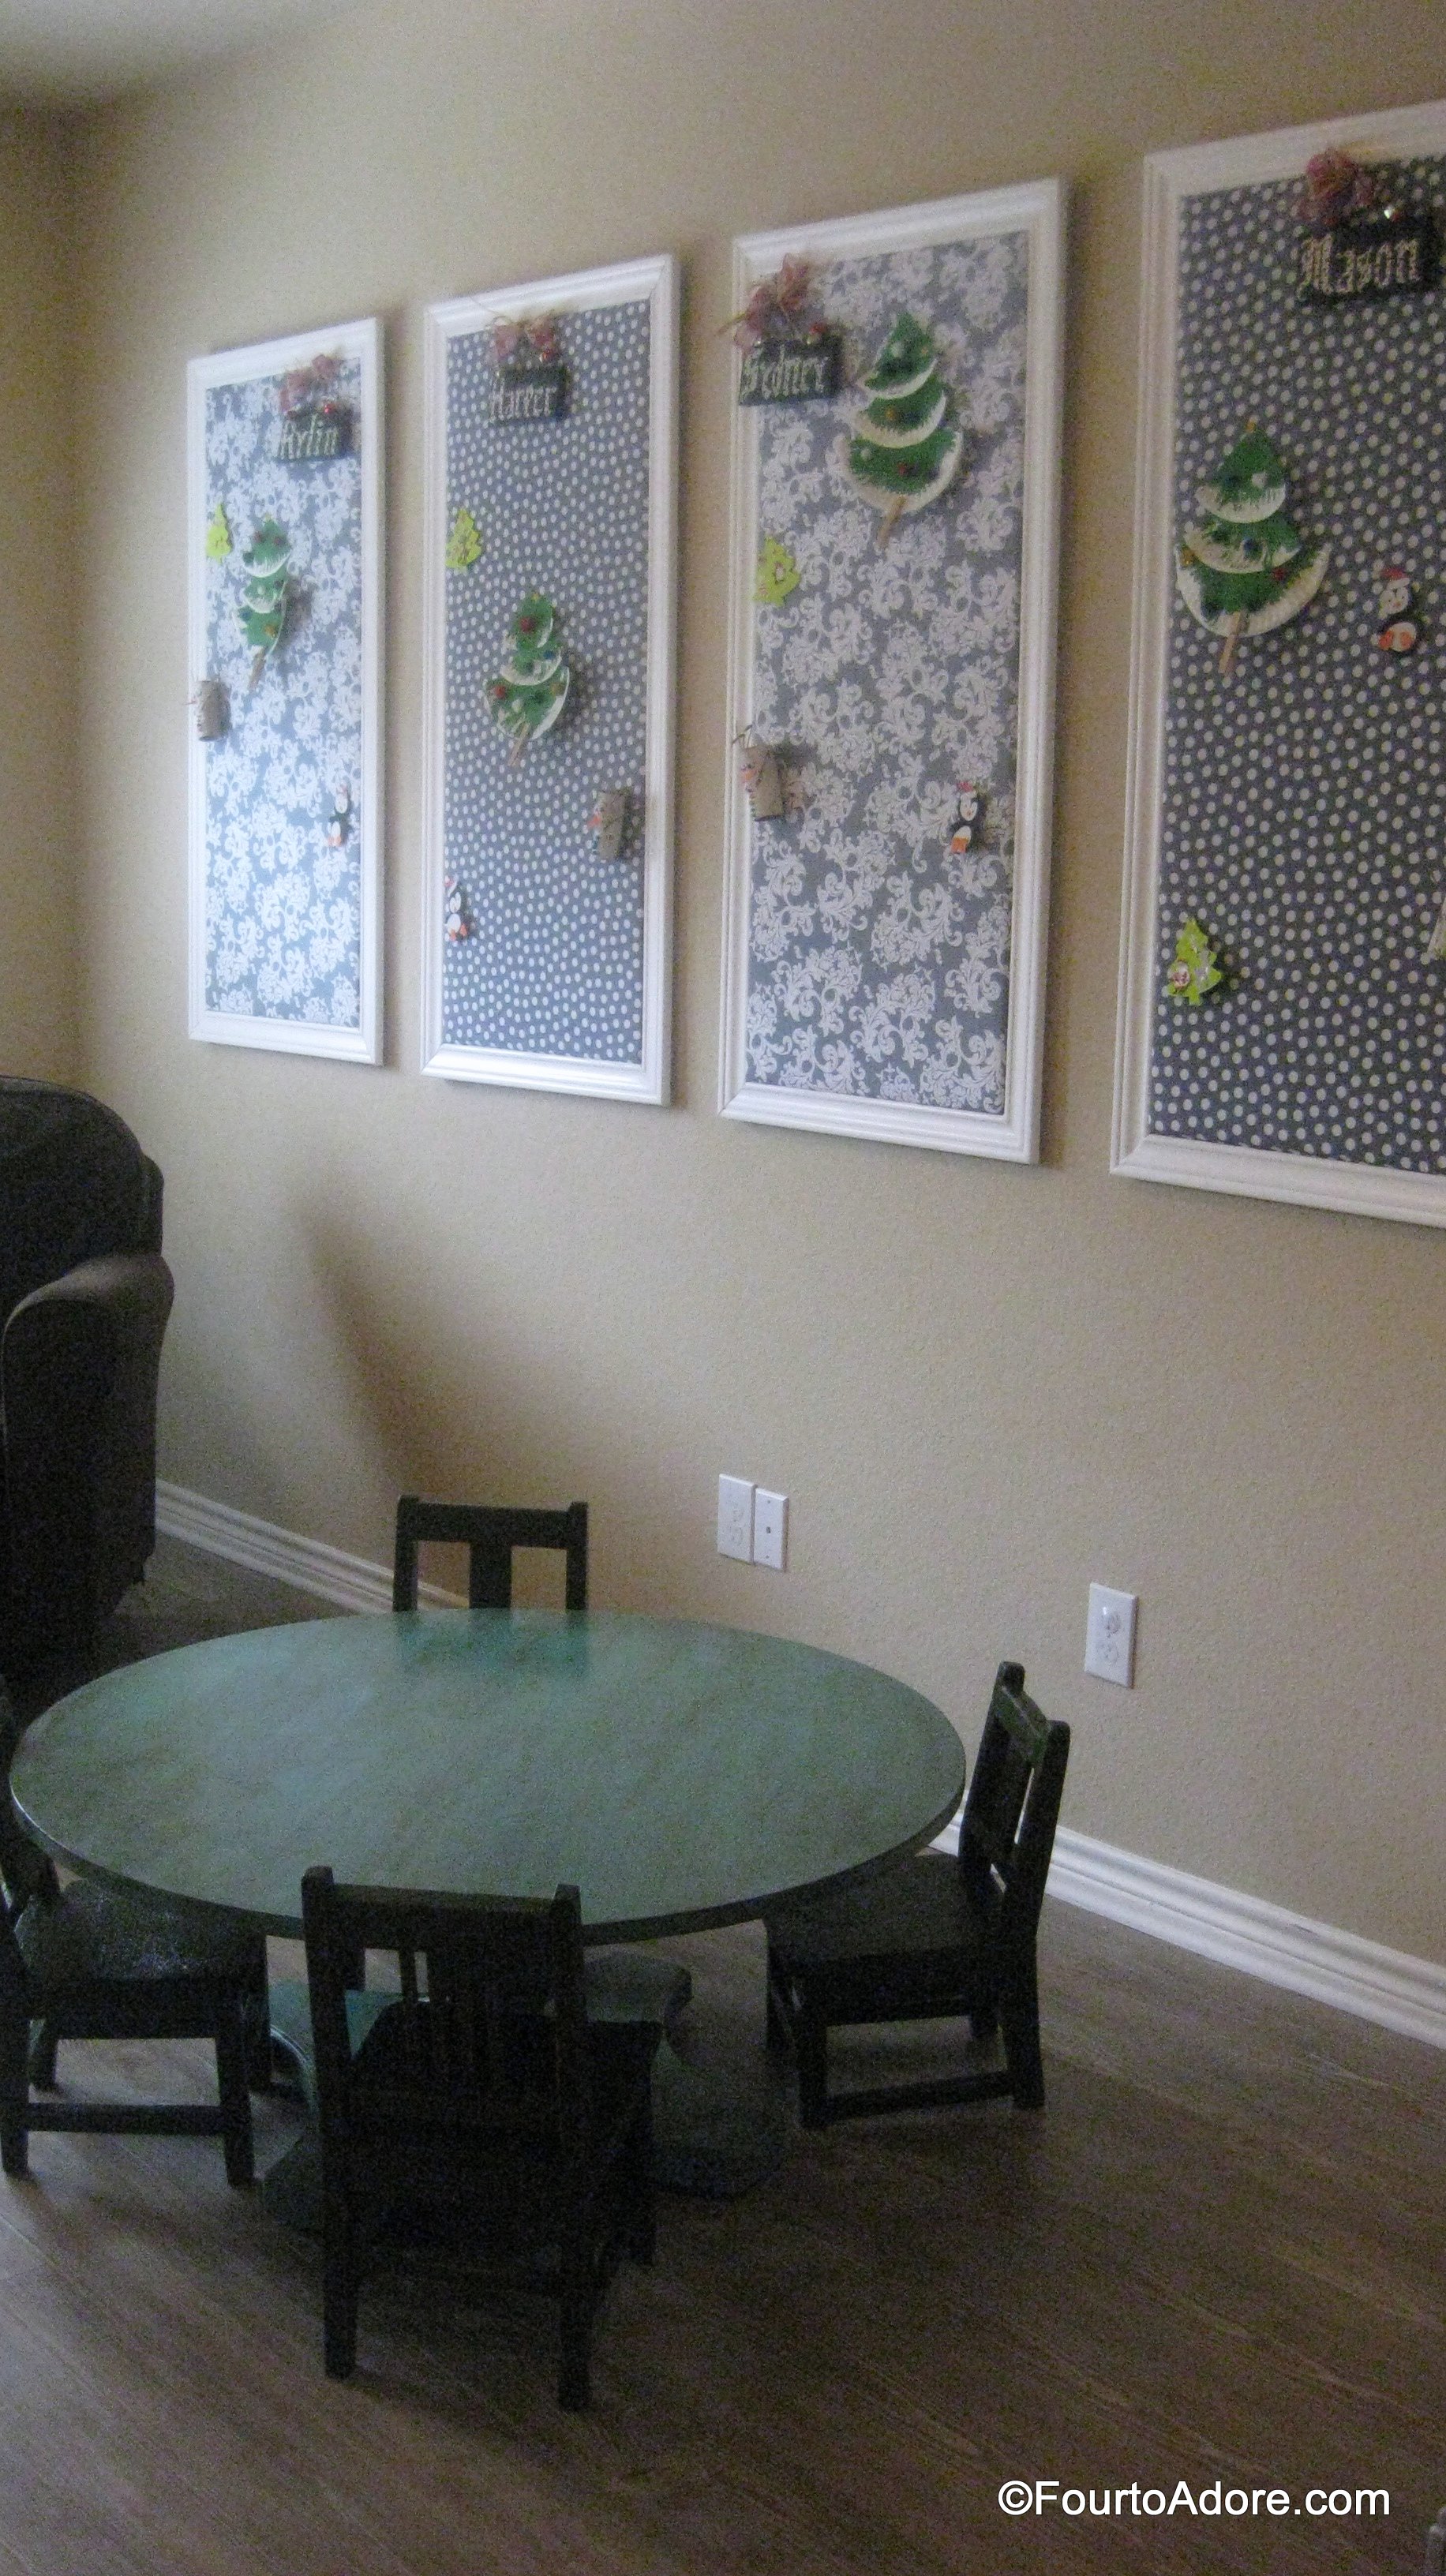
My wife loves doing art projects with the kids, and even more displaying them. At our old house, we created a simple children’s art display using open frames with clothes pins and ribbon. It worked relatively well in the old space. When we moved to the new house, the art display came along. Because the kids started creating a lot more art, Amber added a few more frames to the art gallery wall. After a while, the frames became overly crowded and cluttered looking. Also, they were crooked on the wall most of the time. Of course eight little hands also rearranged the frames frequently. It bothered me. I had an idea to streamline the gallery and give each child a designated place for their own work.
Here’s how the art gallery wall looked with open frames.

To create our new display, I began with the following materials:
- 4 x 8′ plywood sheet, cut into four equal size boards (the hardware store will cut the boards to size)
- packet of wall hanging brackets
- roll of batting
- 3 yards of fabric
- 2 packages of wood trim
- painter’s caulk
- liquid nails
- 1 large foam floor puzzle (we up cycled a few that we used when the quads were crawling, they were well loved and gnawed so not good to pass down)
- staple gun with staples and brads
This is the step by step process:

Lay out all boards on a flat surface

Draw a line 8″ down from the top on each board (This is the BACK). You will use this line later to place hanging brackets.
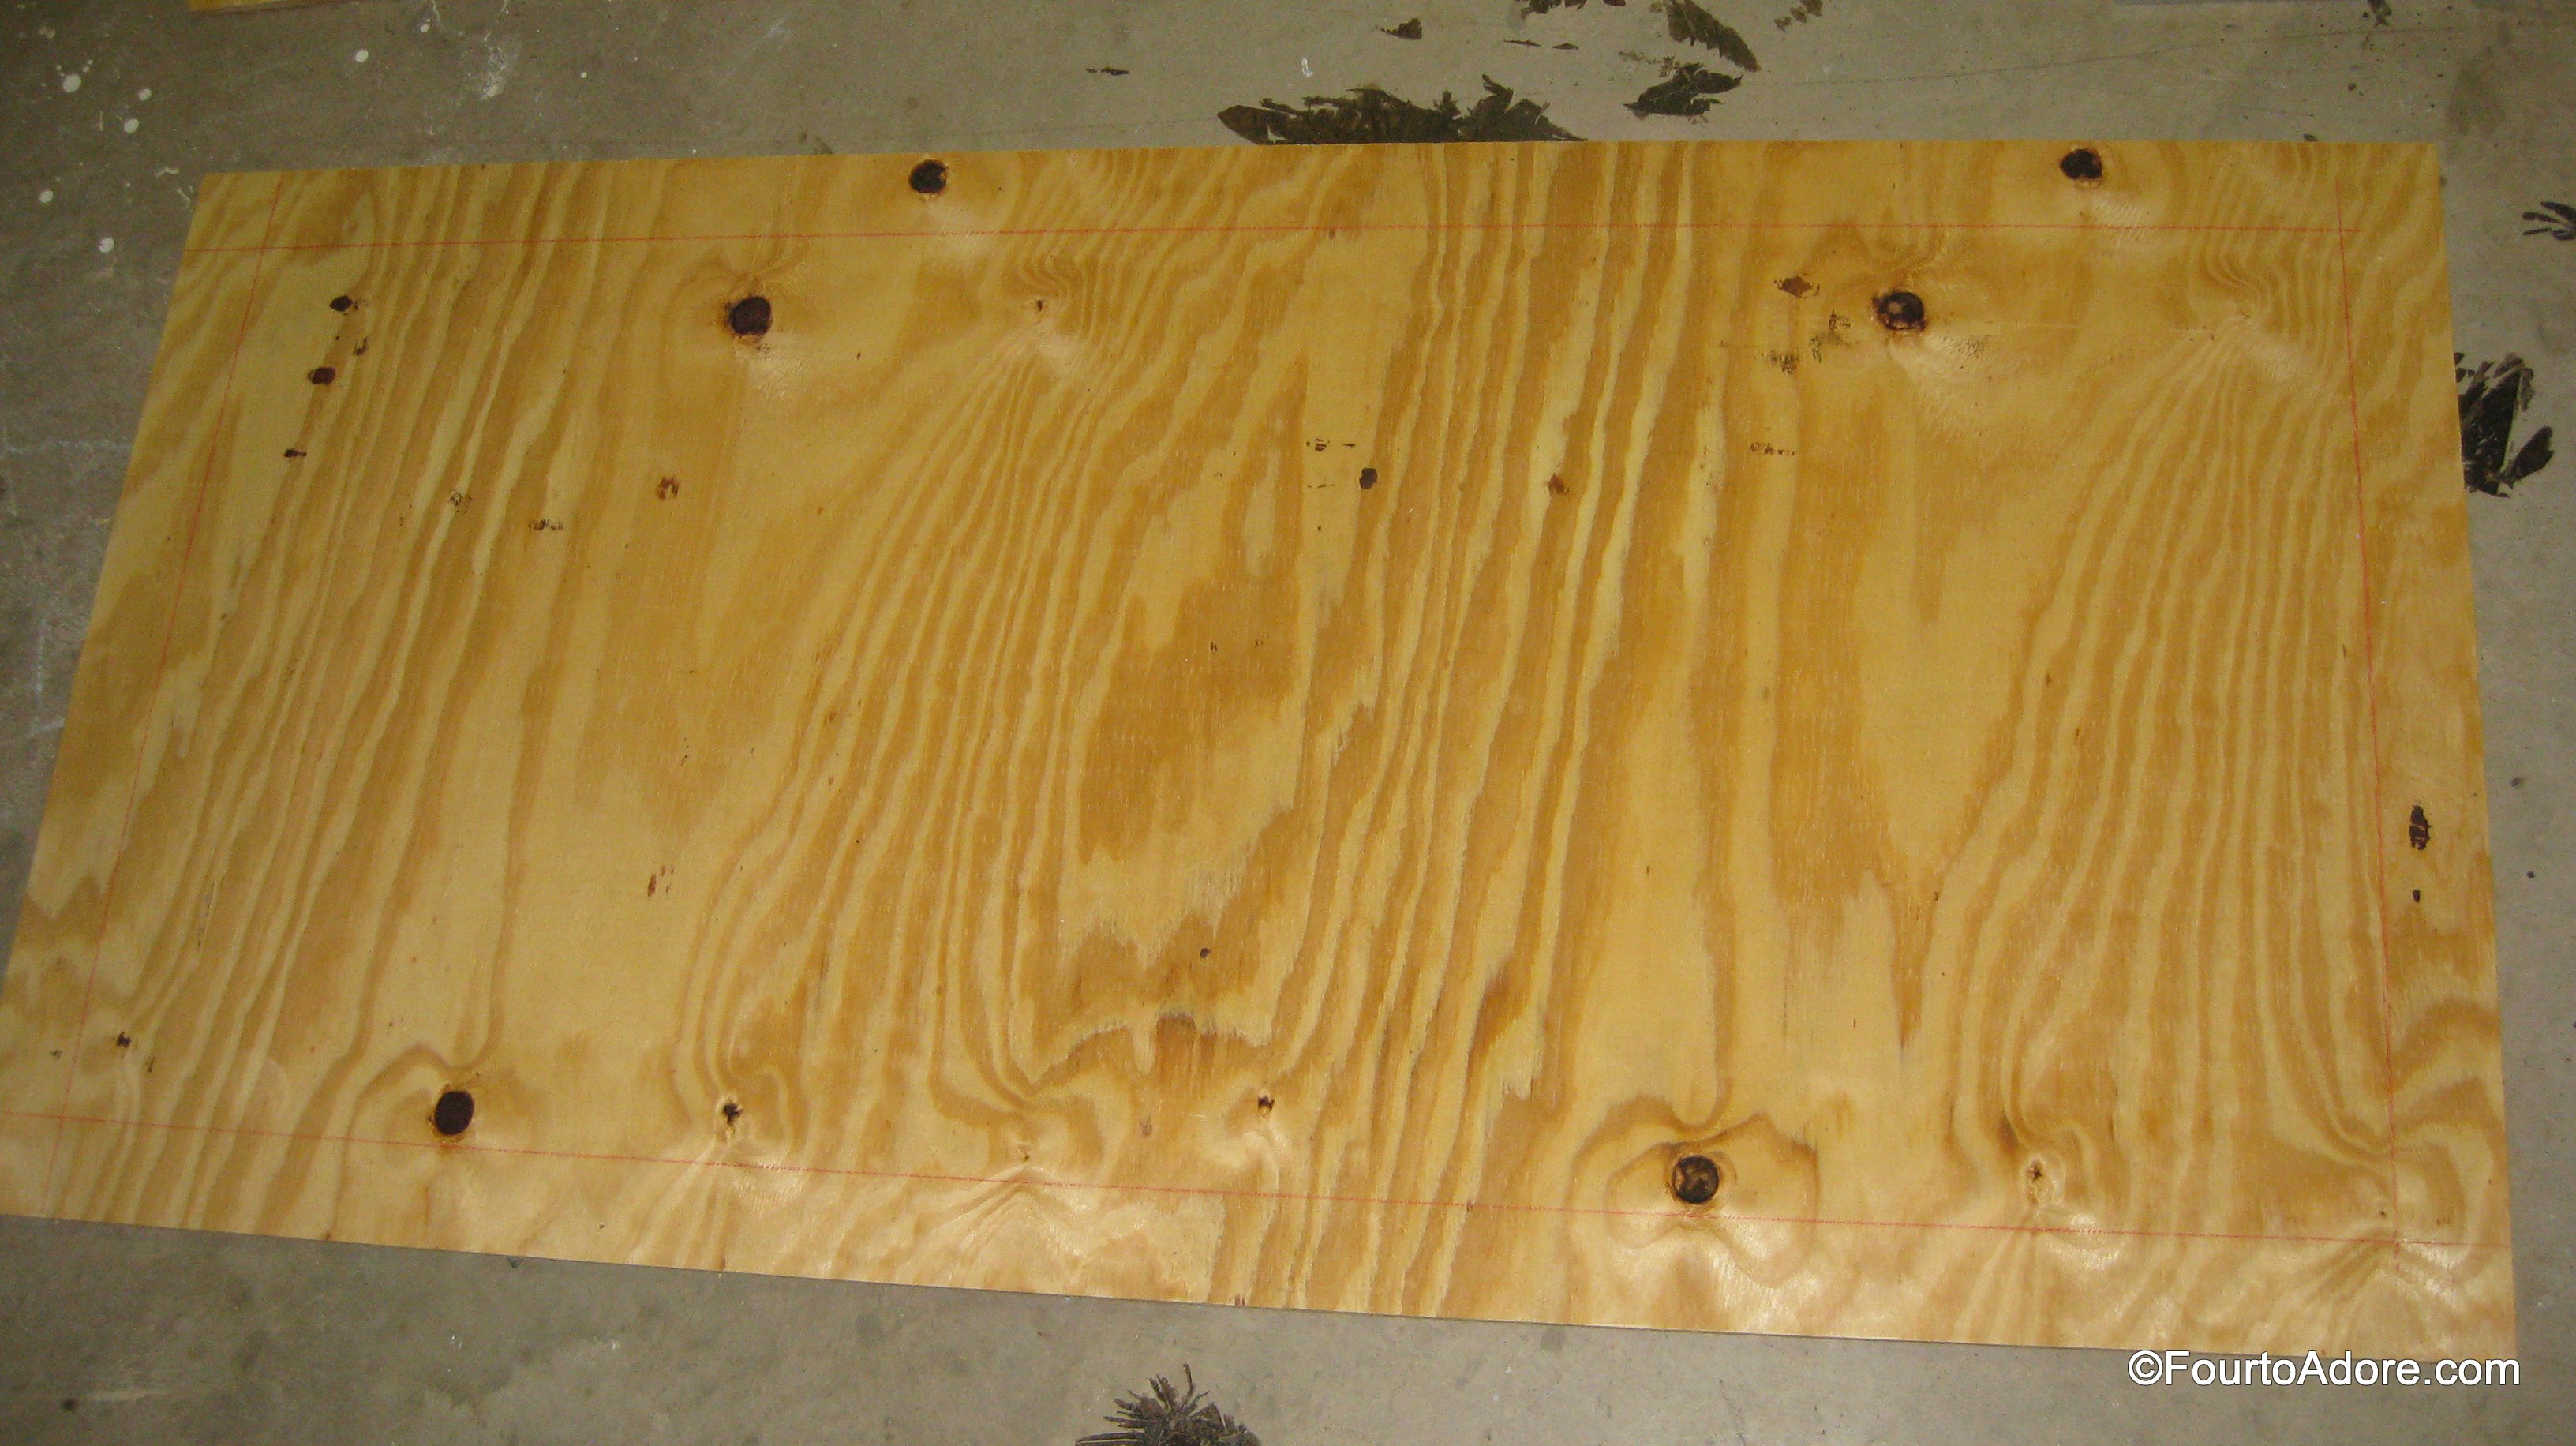
Flip each board over and draw lines 2″ in from all sides so you have a rectangle drawn(This is the FRONT). This will show you where to place foam and trim.

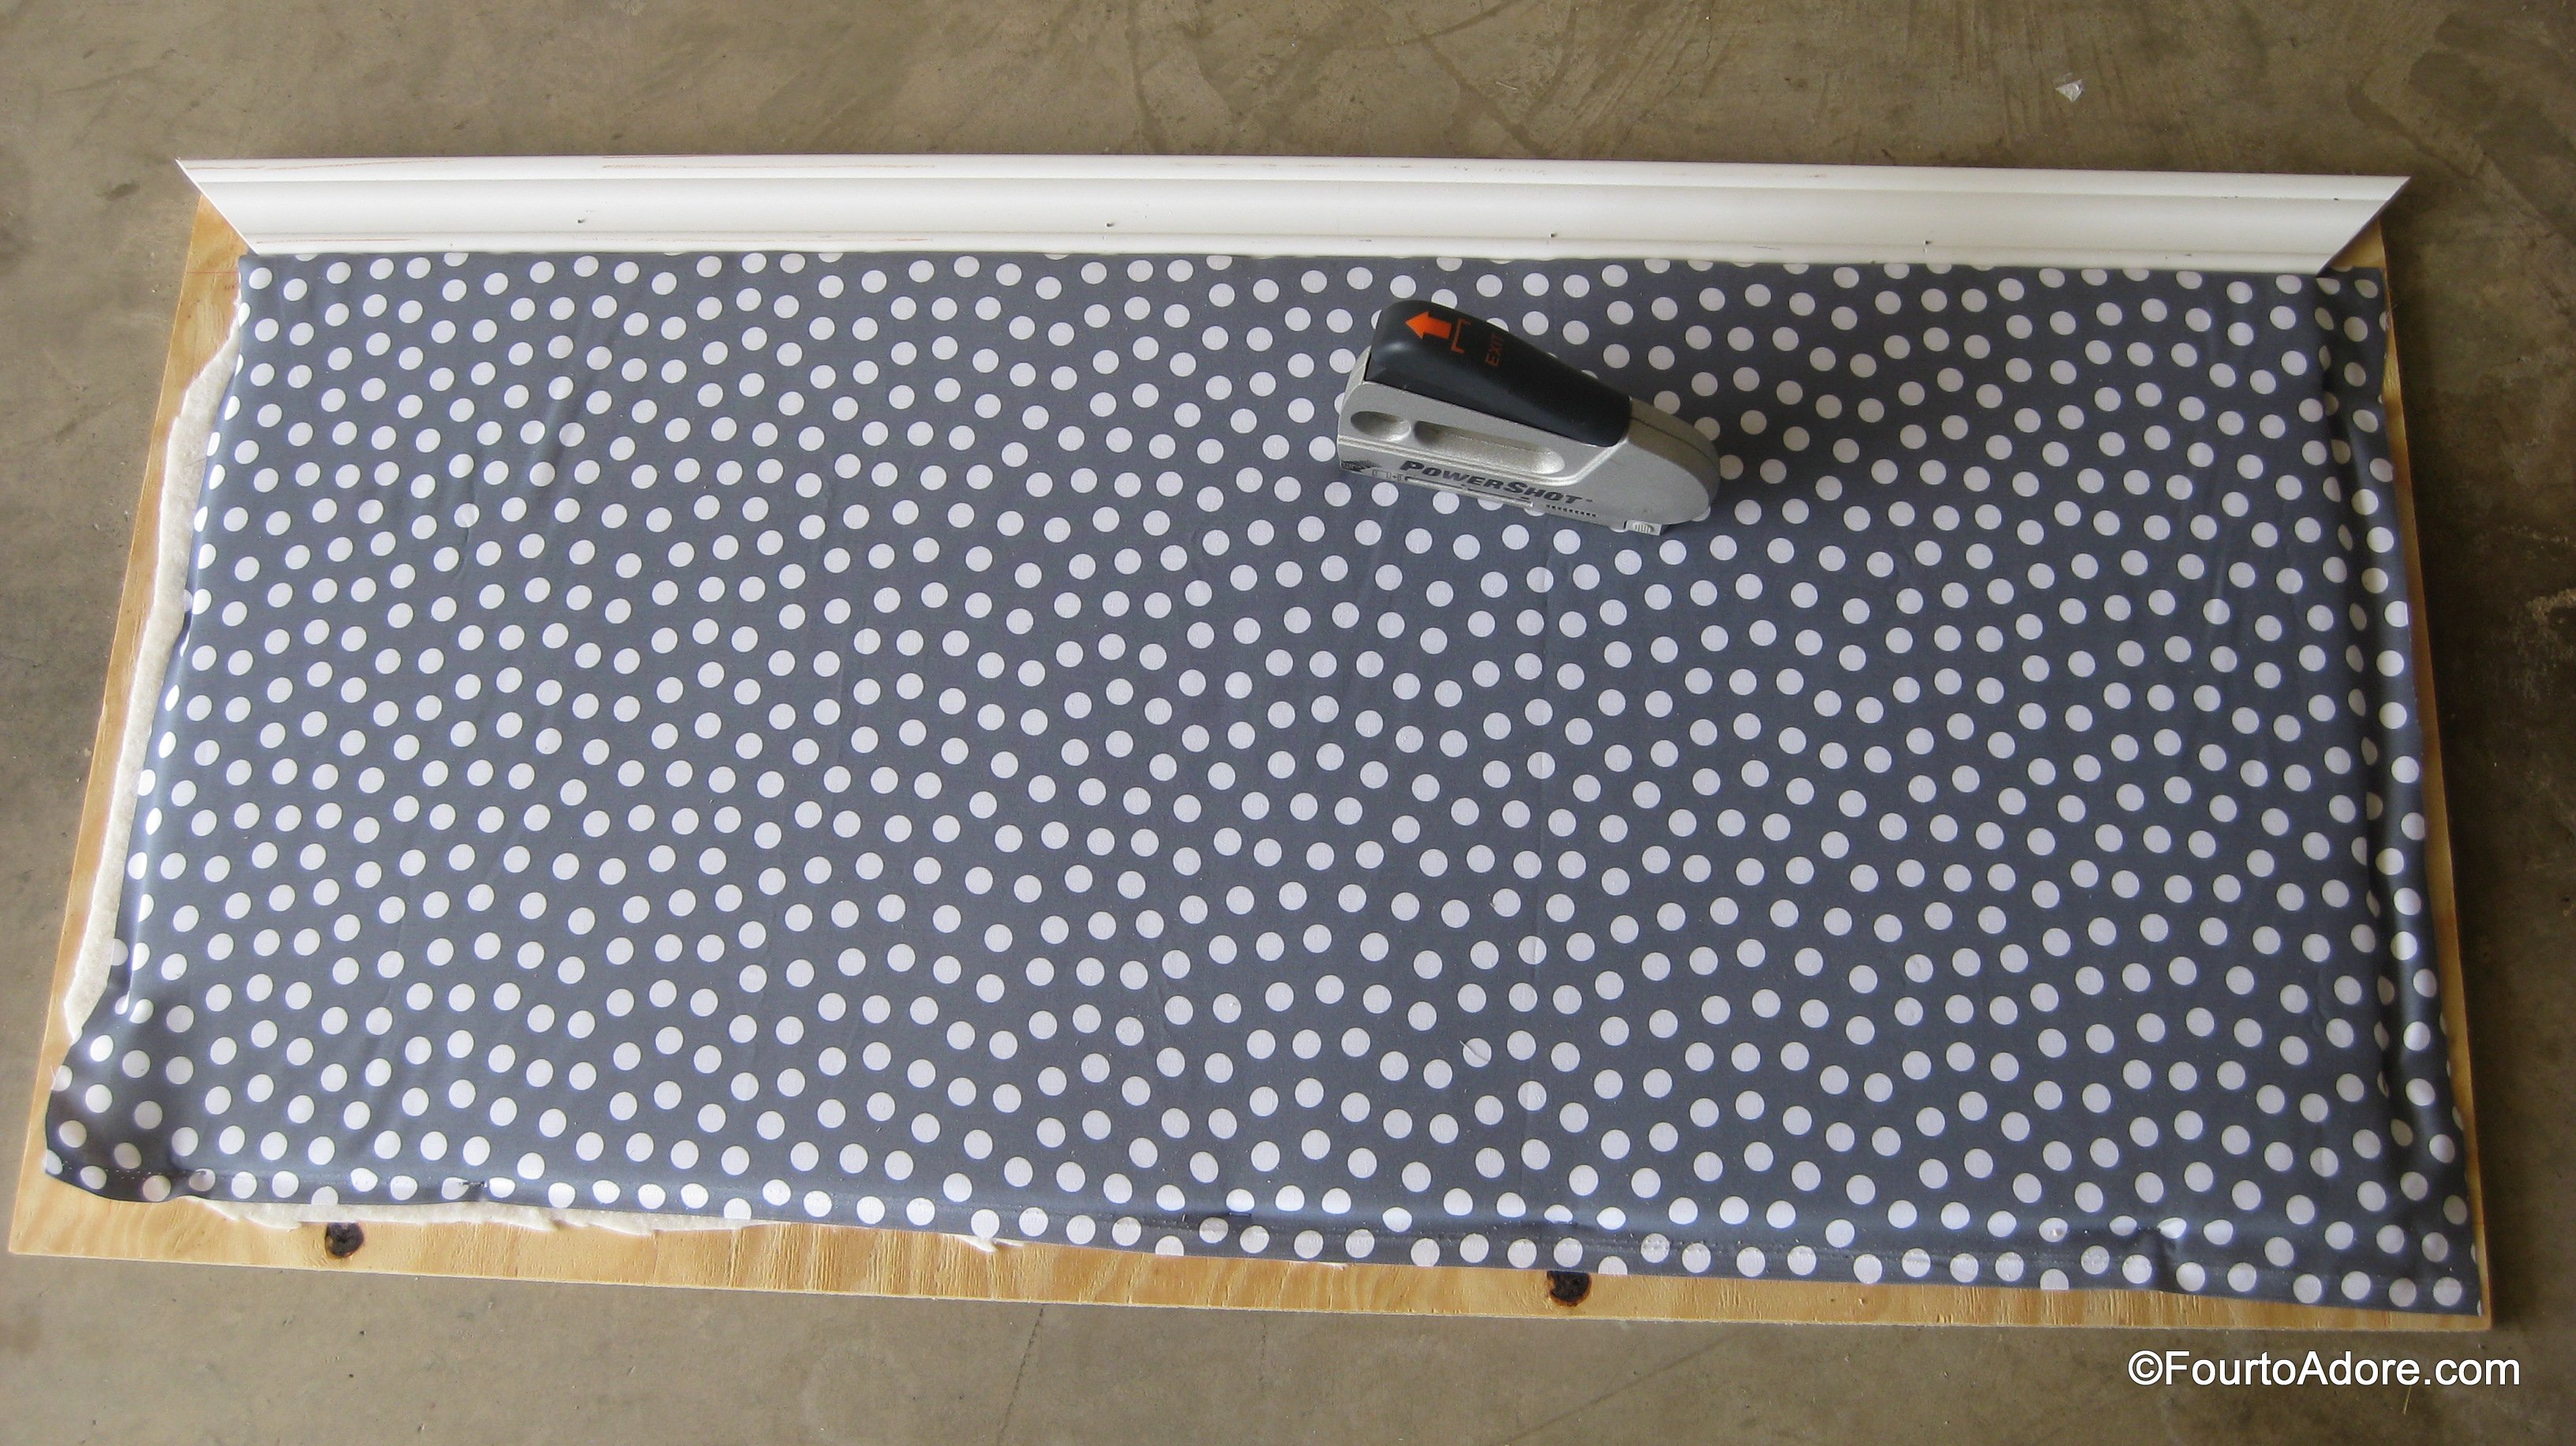
Lay interlocked puzzle pieces on each board. Then, use scissors to cut them to fit into the rectangle drawn on each board. Finally, use liquid nails to adhere puzzle pieces to each board. Allow to cure overnight.

Cut batting to fit over puzzle pieces and secure with a staple gun. This step ensures that surface is smooth.

Cut fabric to fit over batting then secure with a staple gun.
Miter cut trim at 45 degree angles and secure to board with brad nails.
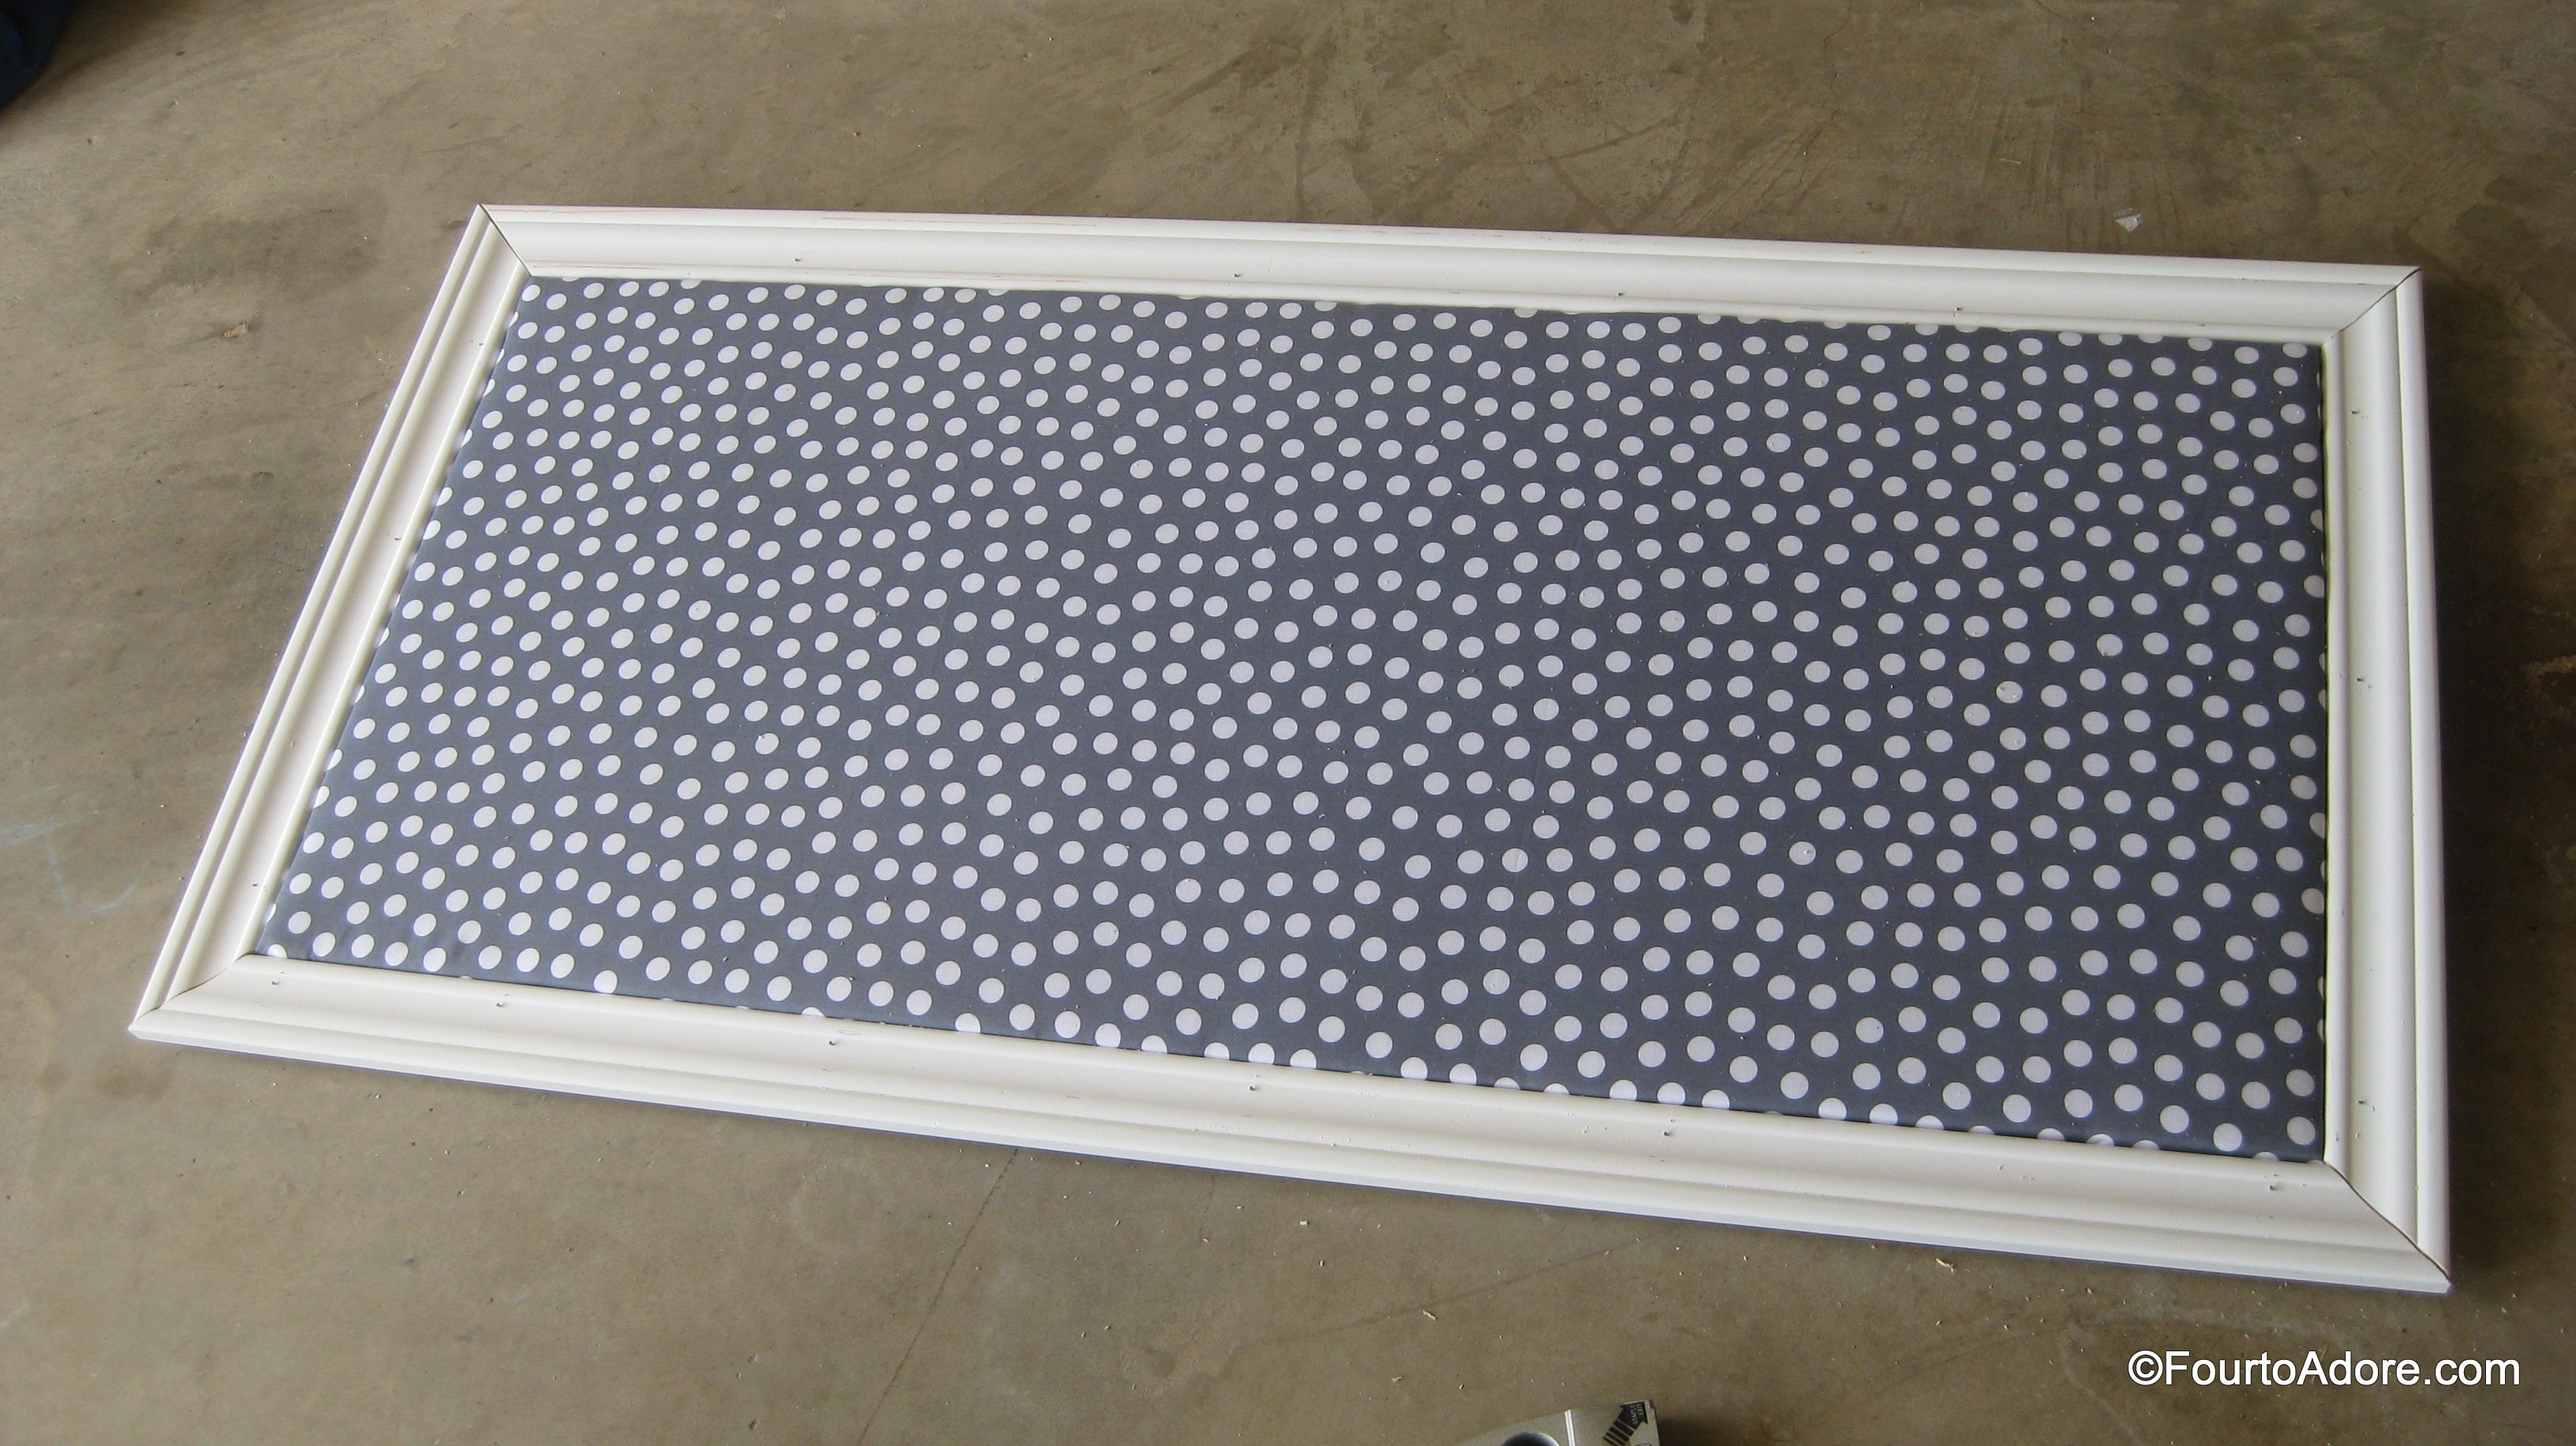
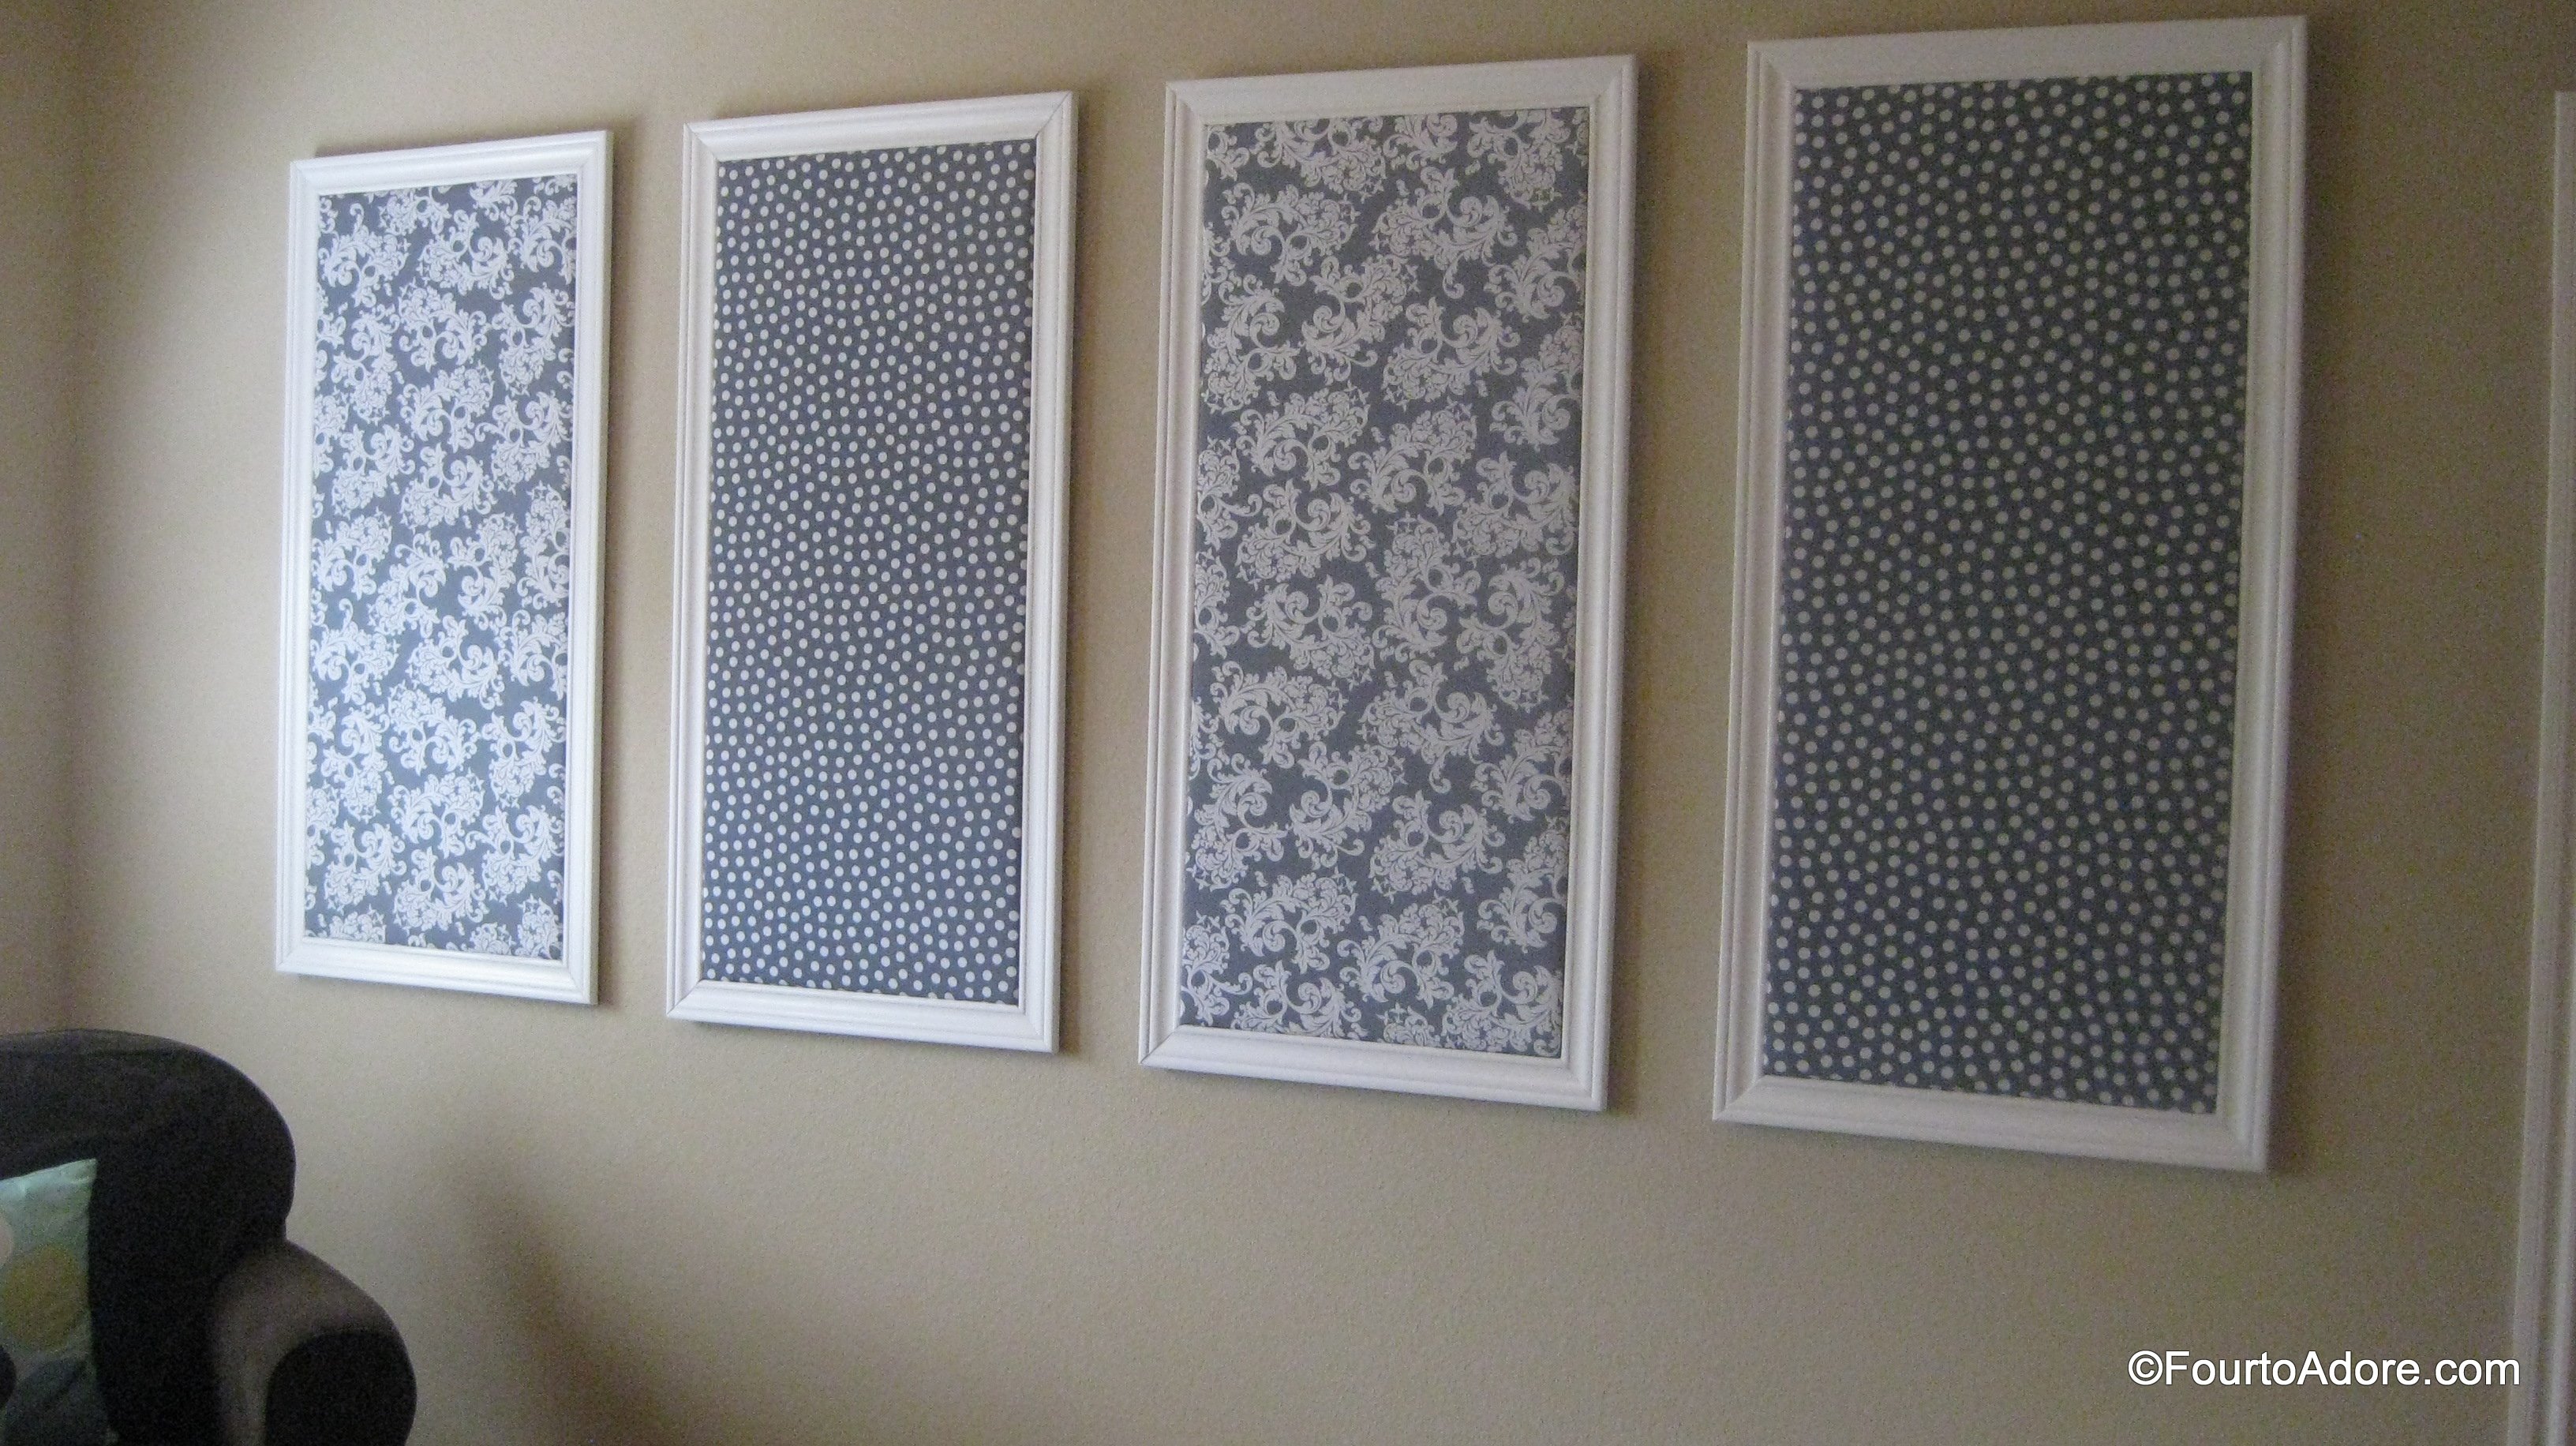
Once all trim pieces are attached, each board should look like this.

Using a nail set and hammer, push nail heads into the trim.
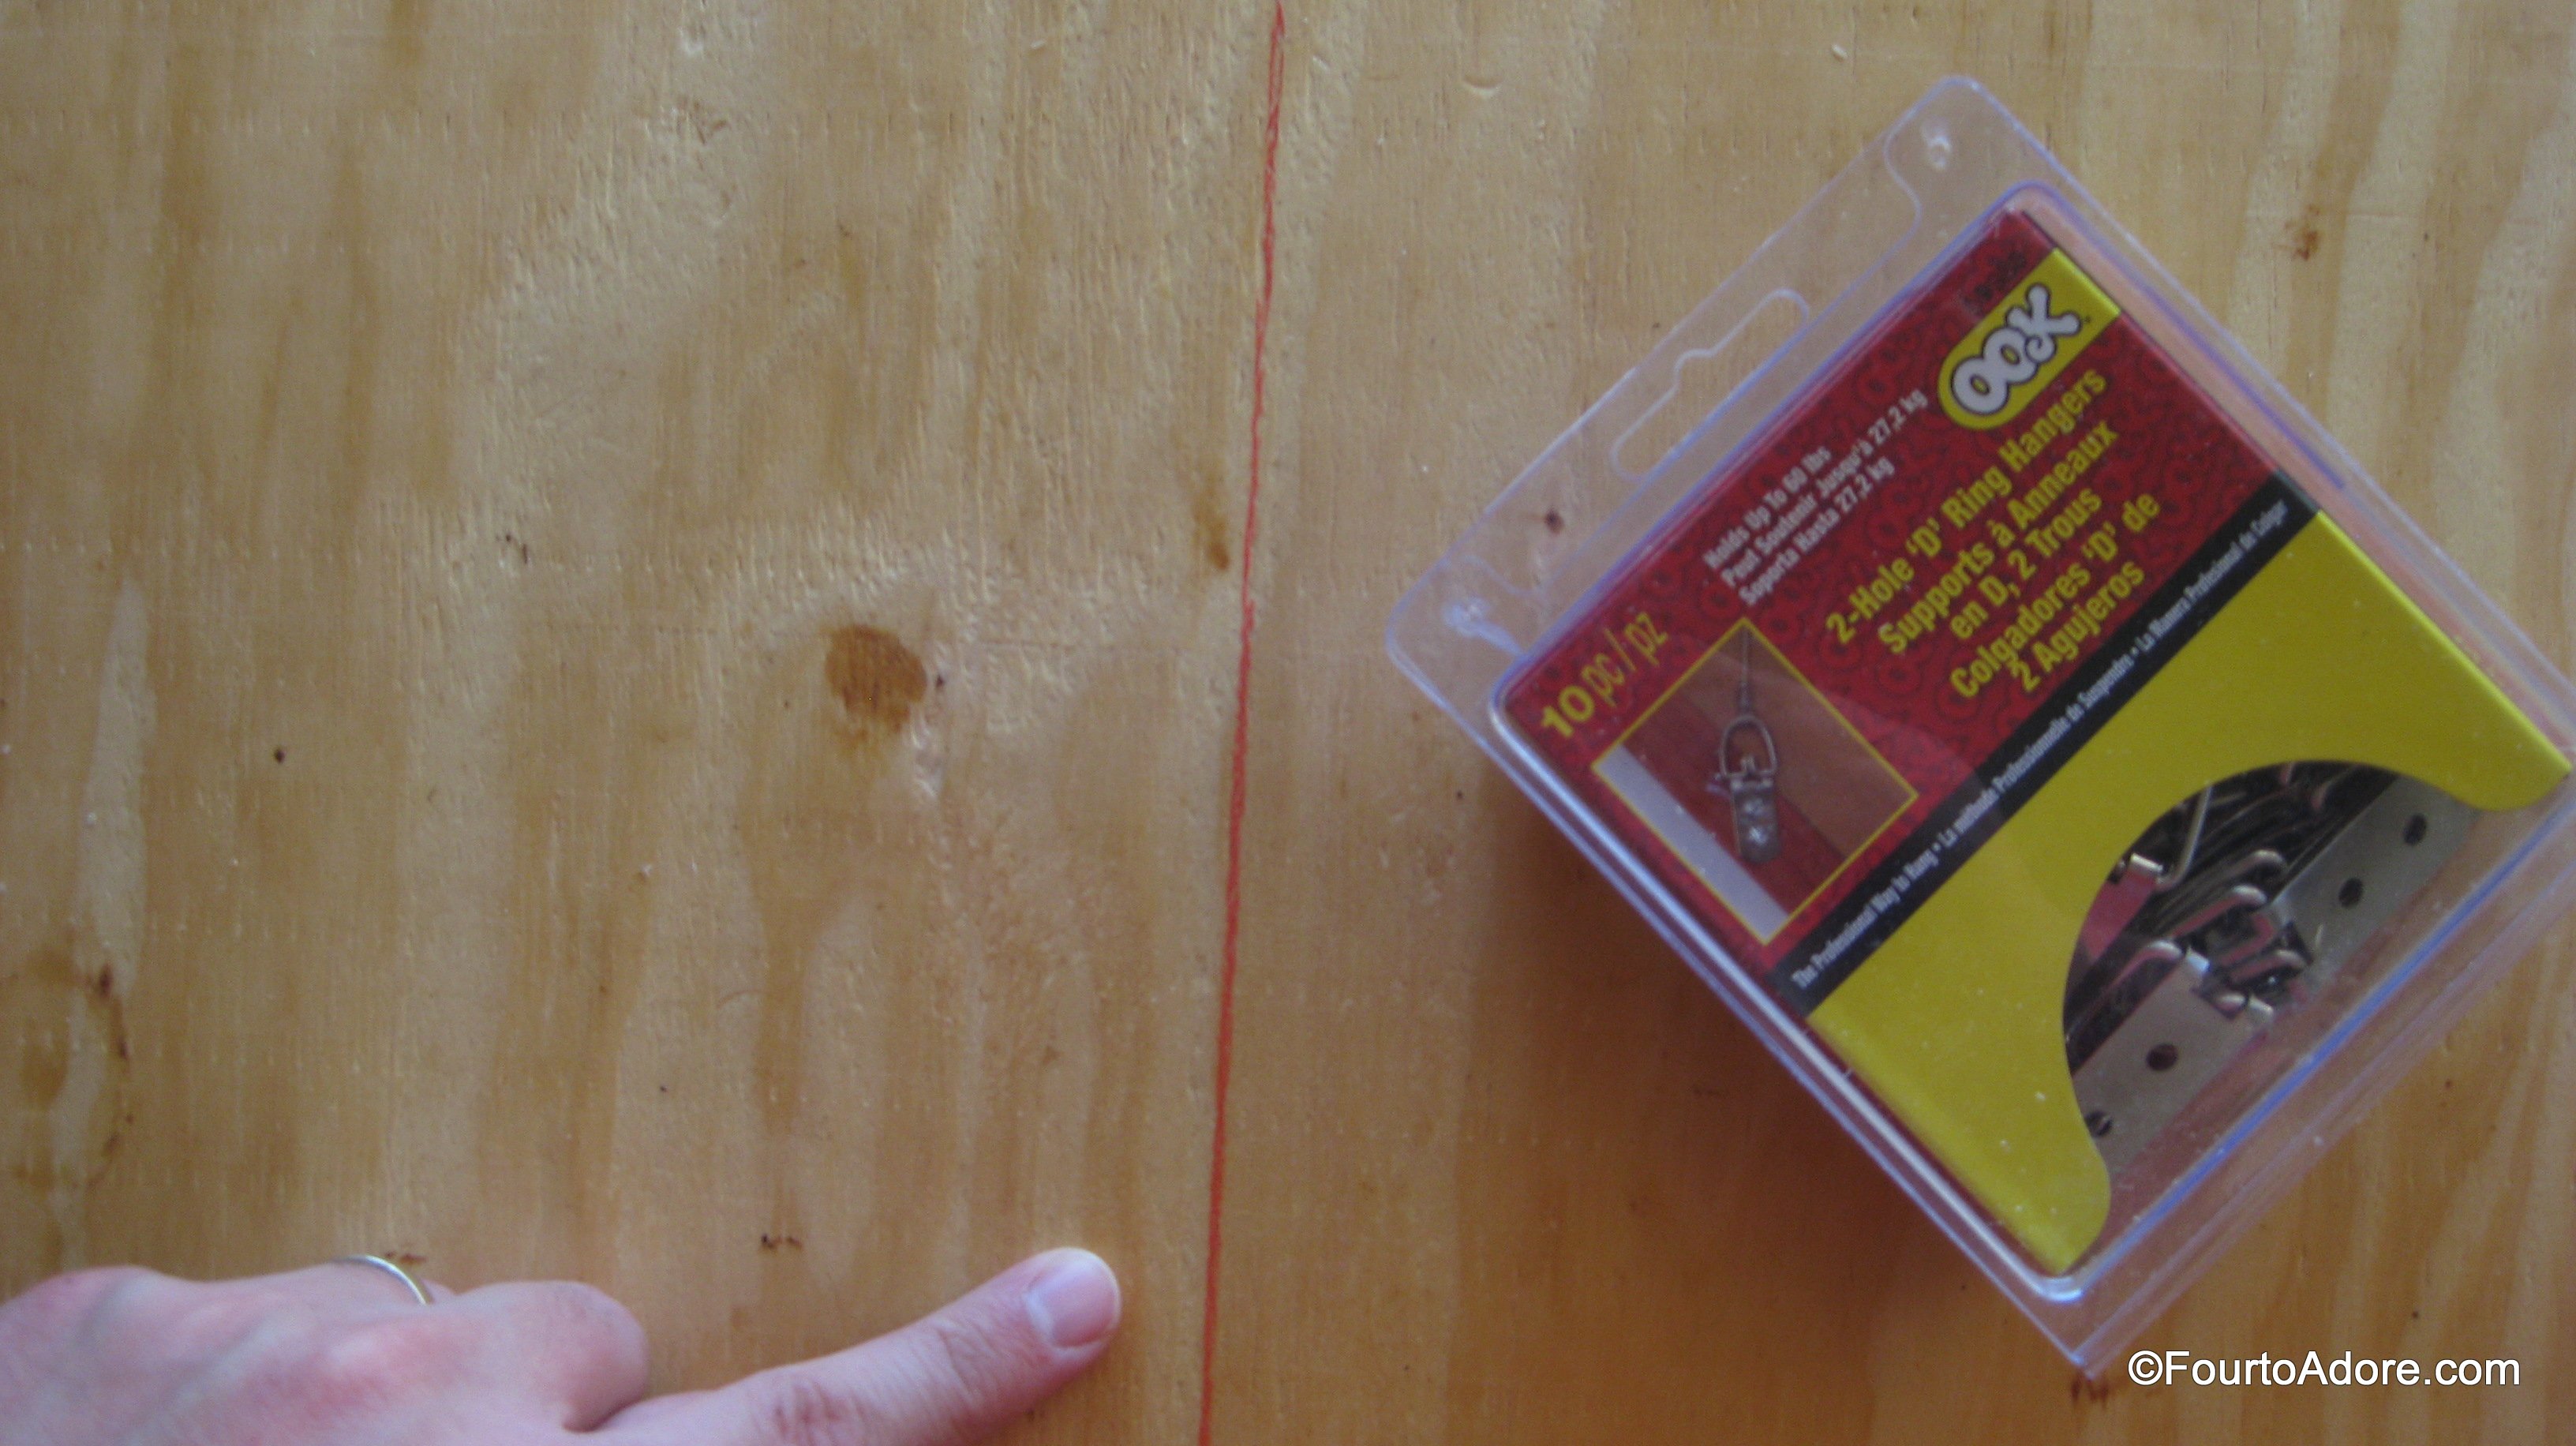
Flip each board over and attach hanging brackets to the backside. Use the previously drawn line as a guide for placement.
Use painter’s caulk on the front side to cover nail heads and fill gaps at the joints. Finally, use one coat of paint to hide imperfections in the trim. Enjoy displaying artwork!
It cost about $25 per board to make, and I’m really pleased with the result.
George
PS- If you can’t get enough of Four to Adore, don’t forget to follow us on Facebook, Twitter, and Pinterest!

