

Since I work in the public school system, I enjoy a brief summer break. I don’t mean to complain, but summer breaks are not June-July-August like the good ol’ days; they are now a mere couple of weeks. Just like with everything, all good things must eventually come to an end, and my summer break is officially over. Sniff, sniff!
As a bit of a department tradition, on the first day of “school” we swap stories of our summer break, which usually consist of travel across country or abroad. It’s always reminiscent of grade school days where the teacher assigns the infamous essay, “Over the summer…” and you recant the events of summer. While a few of my colleagues were brave enough to travel with toddlers in tow, George and I knew that taking four babies on a road trip would be nothing but drama. However, that doesn’t mean we sat home on our duffs all summer. We had plenty of adventures right from home and around town. Stay tuned for our mini-series of sharing what we did over the summer.
While at home, I tried to expose the babies to a variety of sensory play opportunities. Some were a huge success, others a flop. Nonetheless, they are all worth remembering, even if they include what NOT to do.
One day I was solo with the babies and they were not particularly content staying indoors at home. I had really been wanting to do water play with them, but knew that taking them outside myself was not a stellar idea. Instead, I set up shop in our master bathroom. I filled a shallow tub with water and brought in new toys purchased for the babies’ birthday party. To prevent the bathroom from transforming into a Slip ‘n’ Slide, I set an old quilt underneath the tub. Since the babies aren’t generally permitted in our bathroom, they had a fantastic time splashing and making note of their new surroundings.

Part of the fun was the water, the other was being in an otherwise forbidden room of the house.
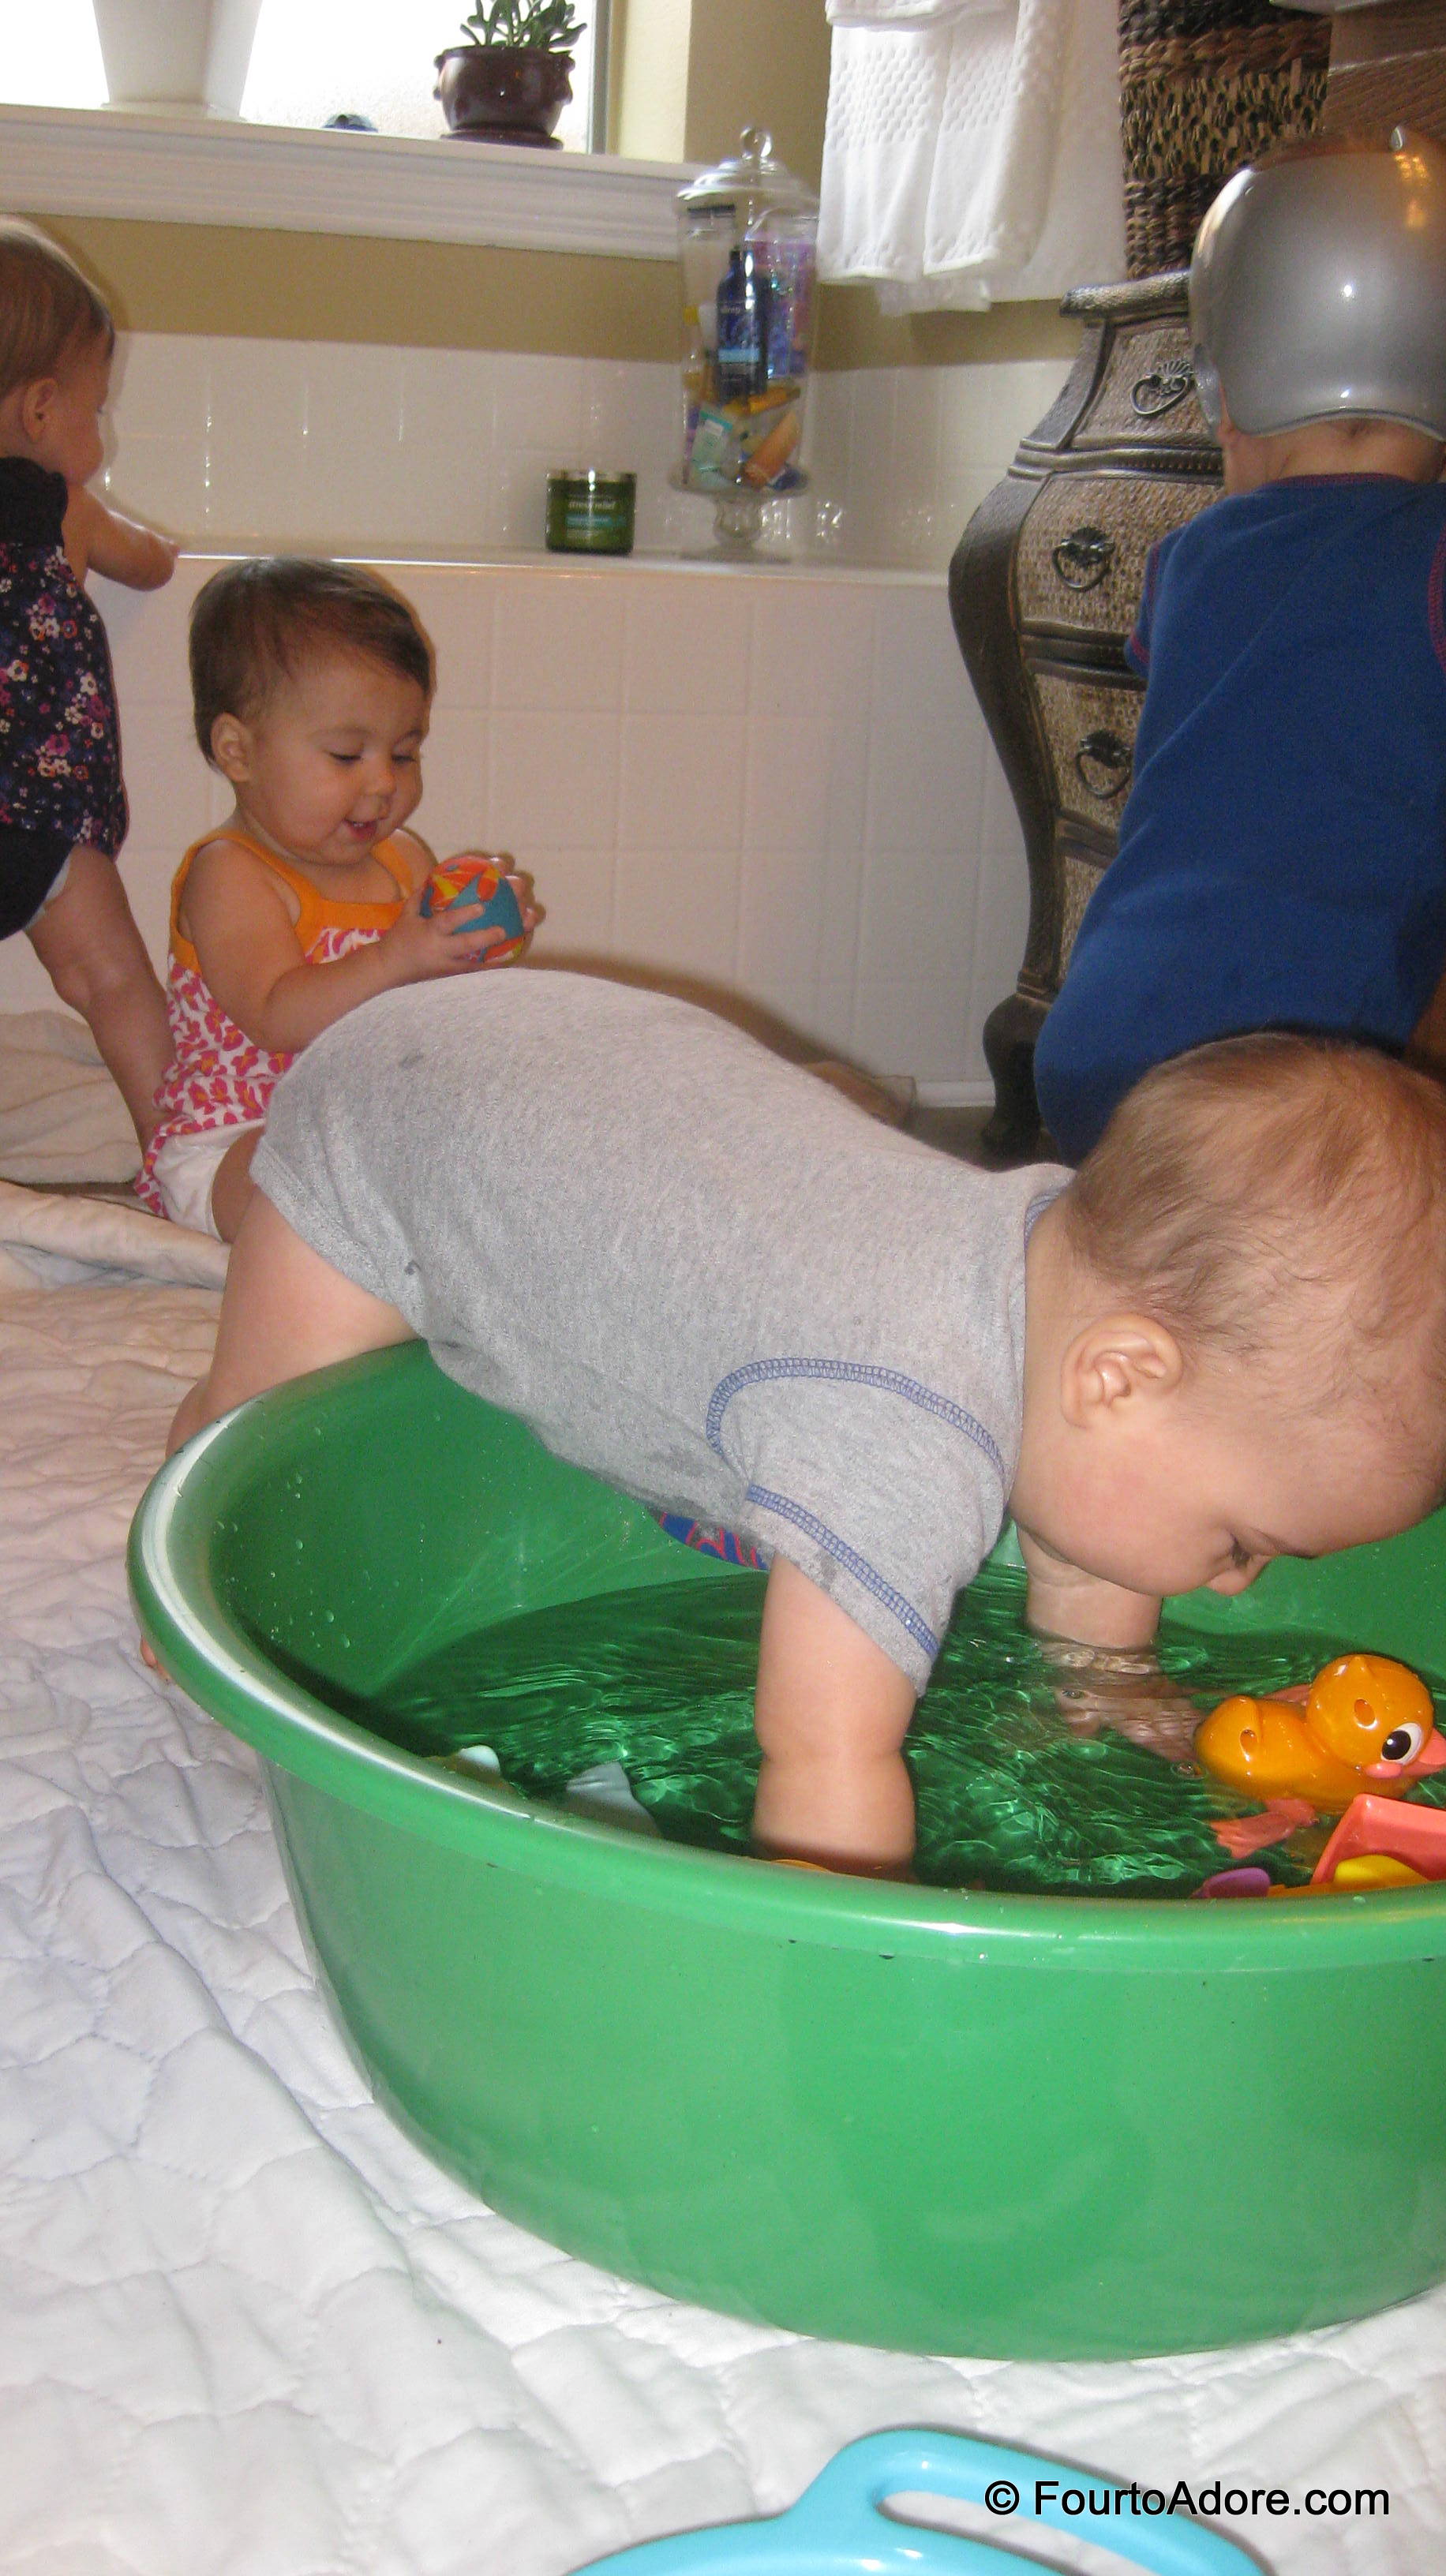
Harper was the only baby who wanted IN the water tub.
Perhaps my favorite sensory activity of all was Cool Whip smearing. I dressed the babies in swim suits and sat them at the quad table where I slapped a dollop of Cool Whip and a few drops of food coloring in front of each baby. It didn’t take them long to figure out this was great fun and delicious too. Sydney was hesitant to experiment since she’s not keen on getting messy, but she too joined in on the action. Since I had a helper with me that day, we transferred the babies outdoors for a dip in the baby pool following this royal mess.

Mason enjoyed leaning forward to dab his nose in the Cool Whip.

I thought it was interesting how each of the babies had a different pattern in their Cool Whip swash. Some made vertical motions while others moved horizontally or even both directions.

Of course, half the fun of Cool Whip play is eating it!

Sydney eventually patted the creamy stuff.
While this activity wasn’t as exciting for the babies, I loved the mess-free play! I stumbled across this idea somewhere on Pinterest. I slipped a piece of card stock into gallon bags and squirted Tempera paint in the bag, and taped them to the quad table. For added dimension, I tossed a few sequins and a bit of glitter in the bags. It entertained the babies for quite a while as they slapped, squished and patted the bags. I don’t recommend using Duct tape, however. George was not pleased to find it took bits of the finish off the table.
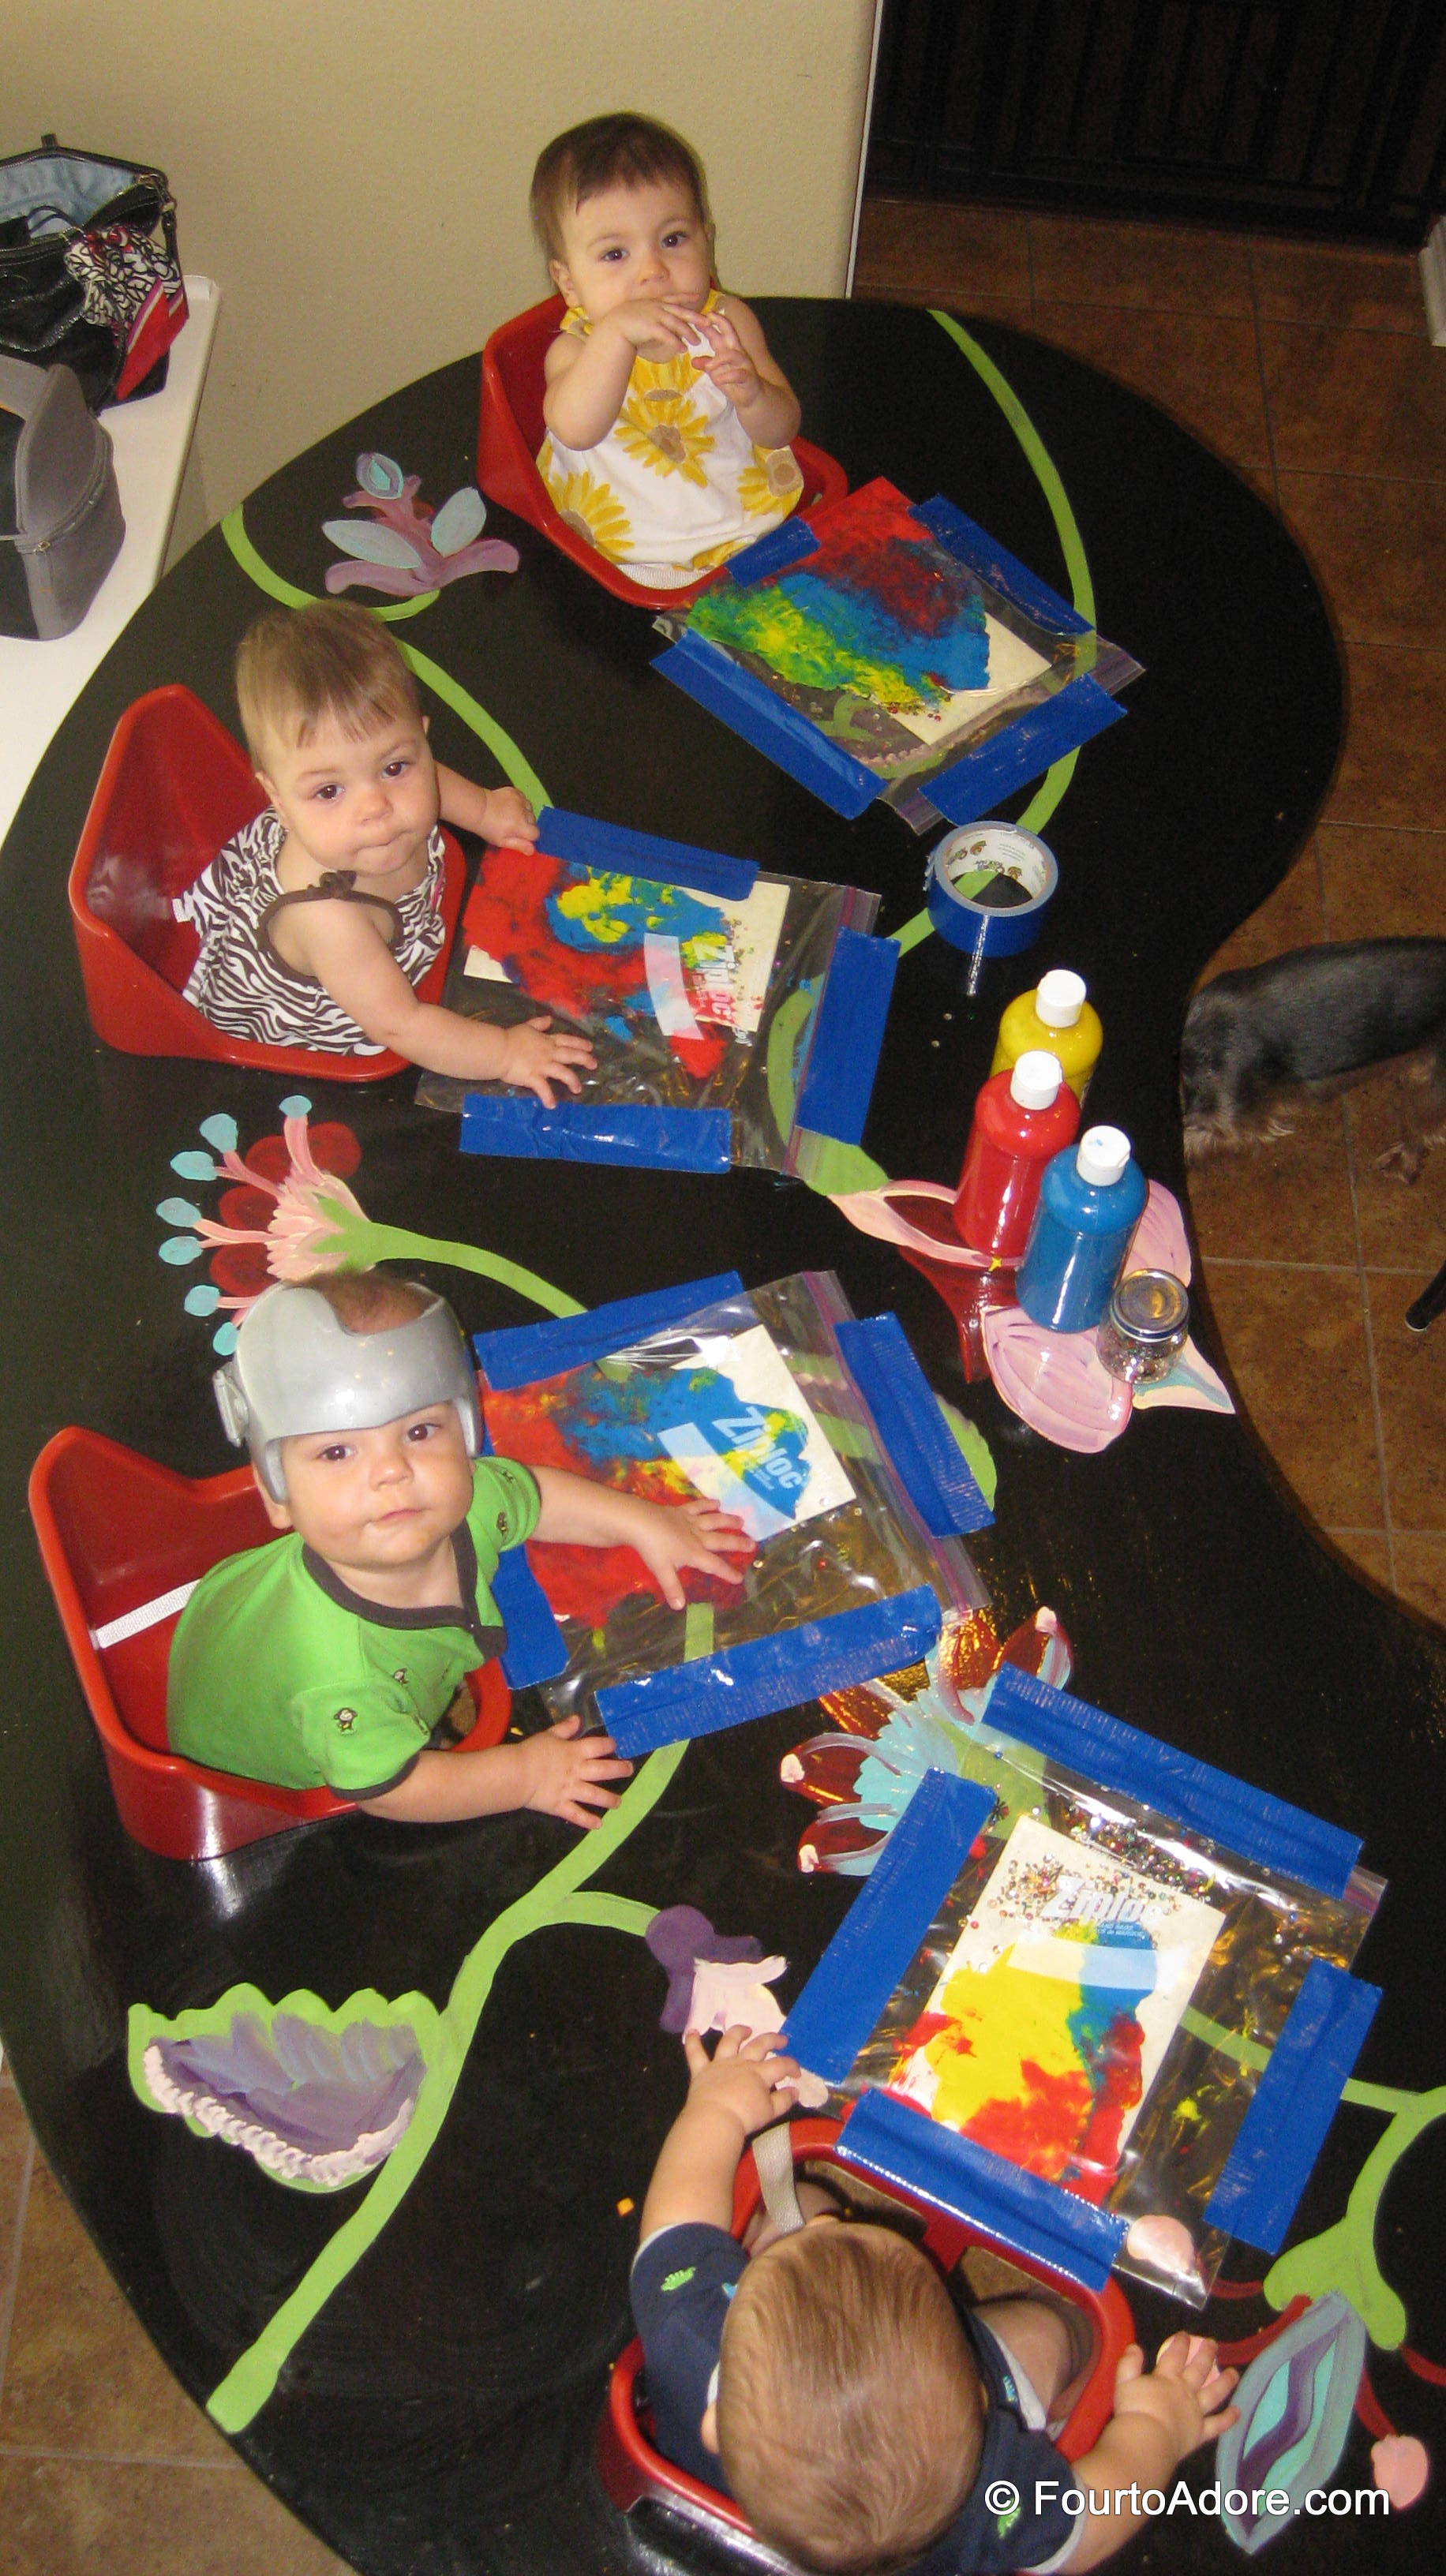
Harper didn’t much enjoy this one, but at least he didn’t complain.

Rylin really loved smearing and patting.
For the babies’ party, I reused our water play tub as a make shift sand box. At the party, but it wasn’t a popular station. If given a choice, kids apparently prefer water over sand. However, I wasn’t letting a good bag of play sand go to waste so each of our babies got a turn experiencing the “beach”.
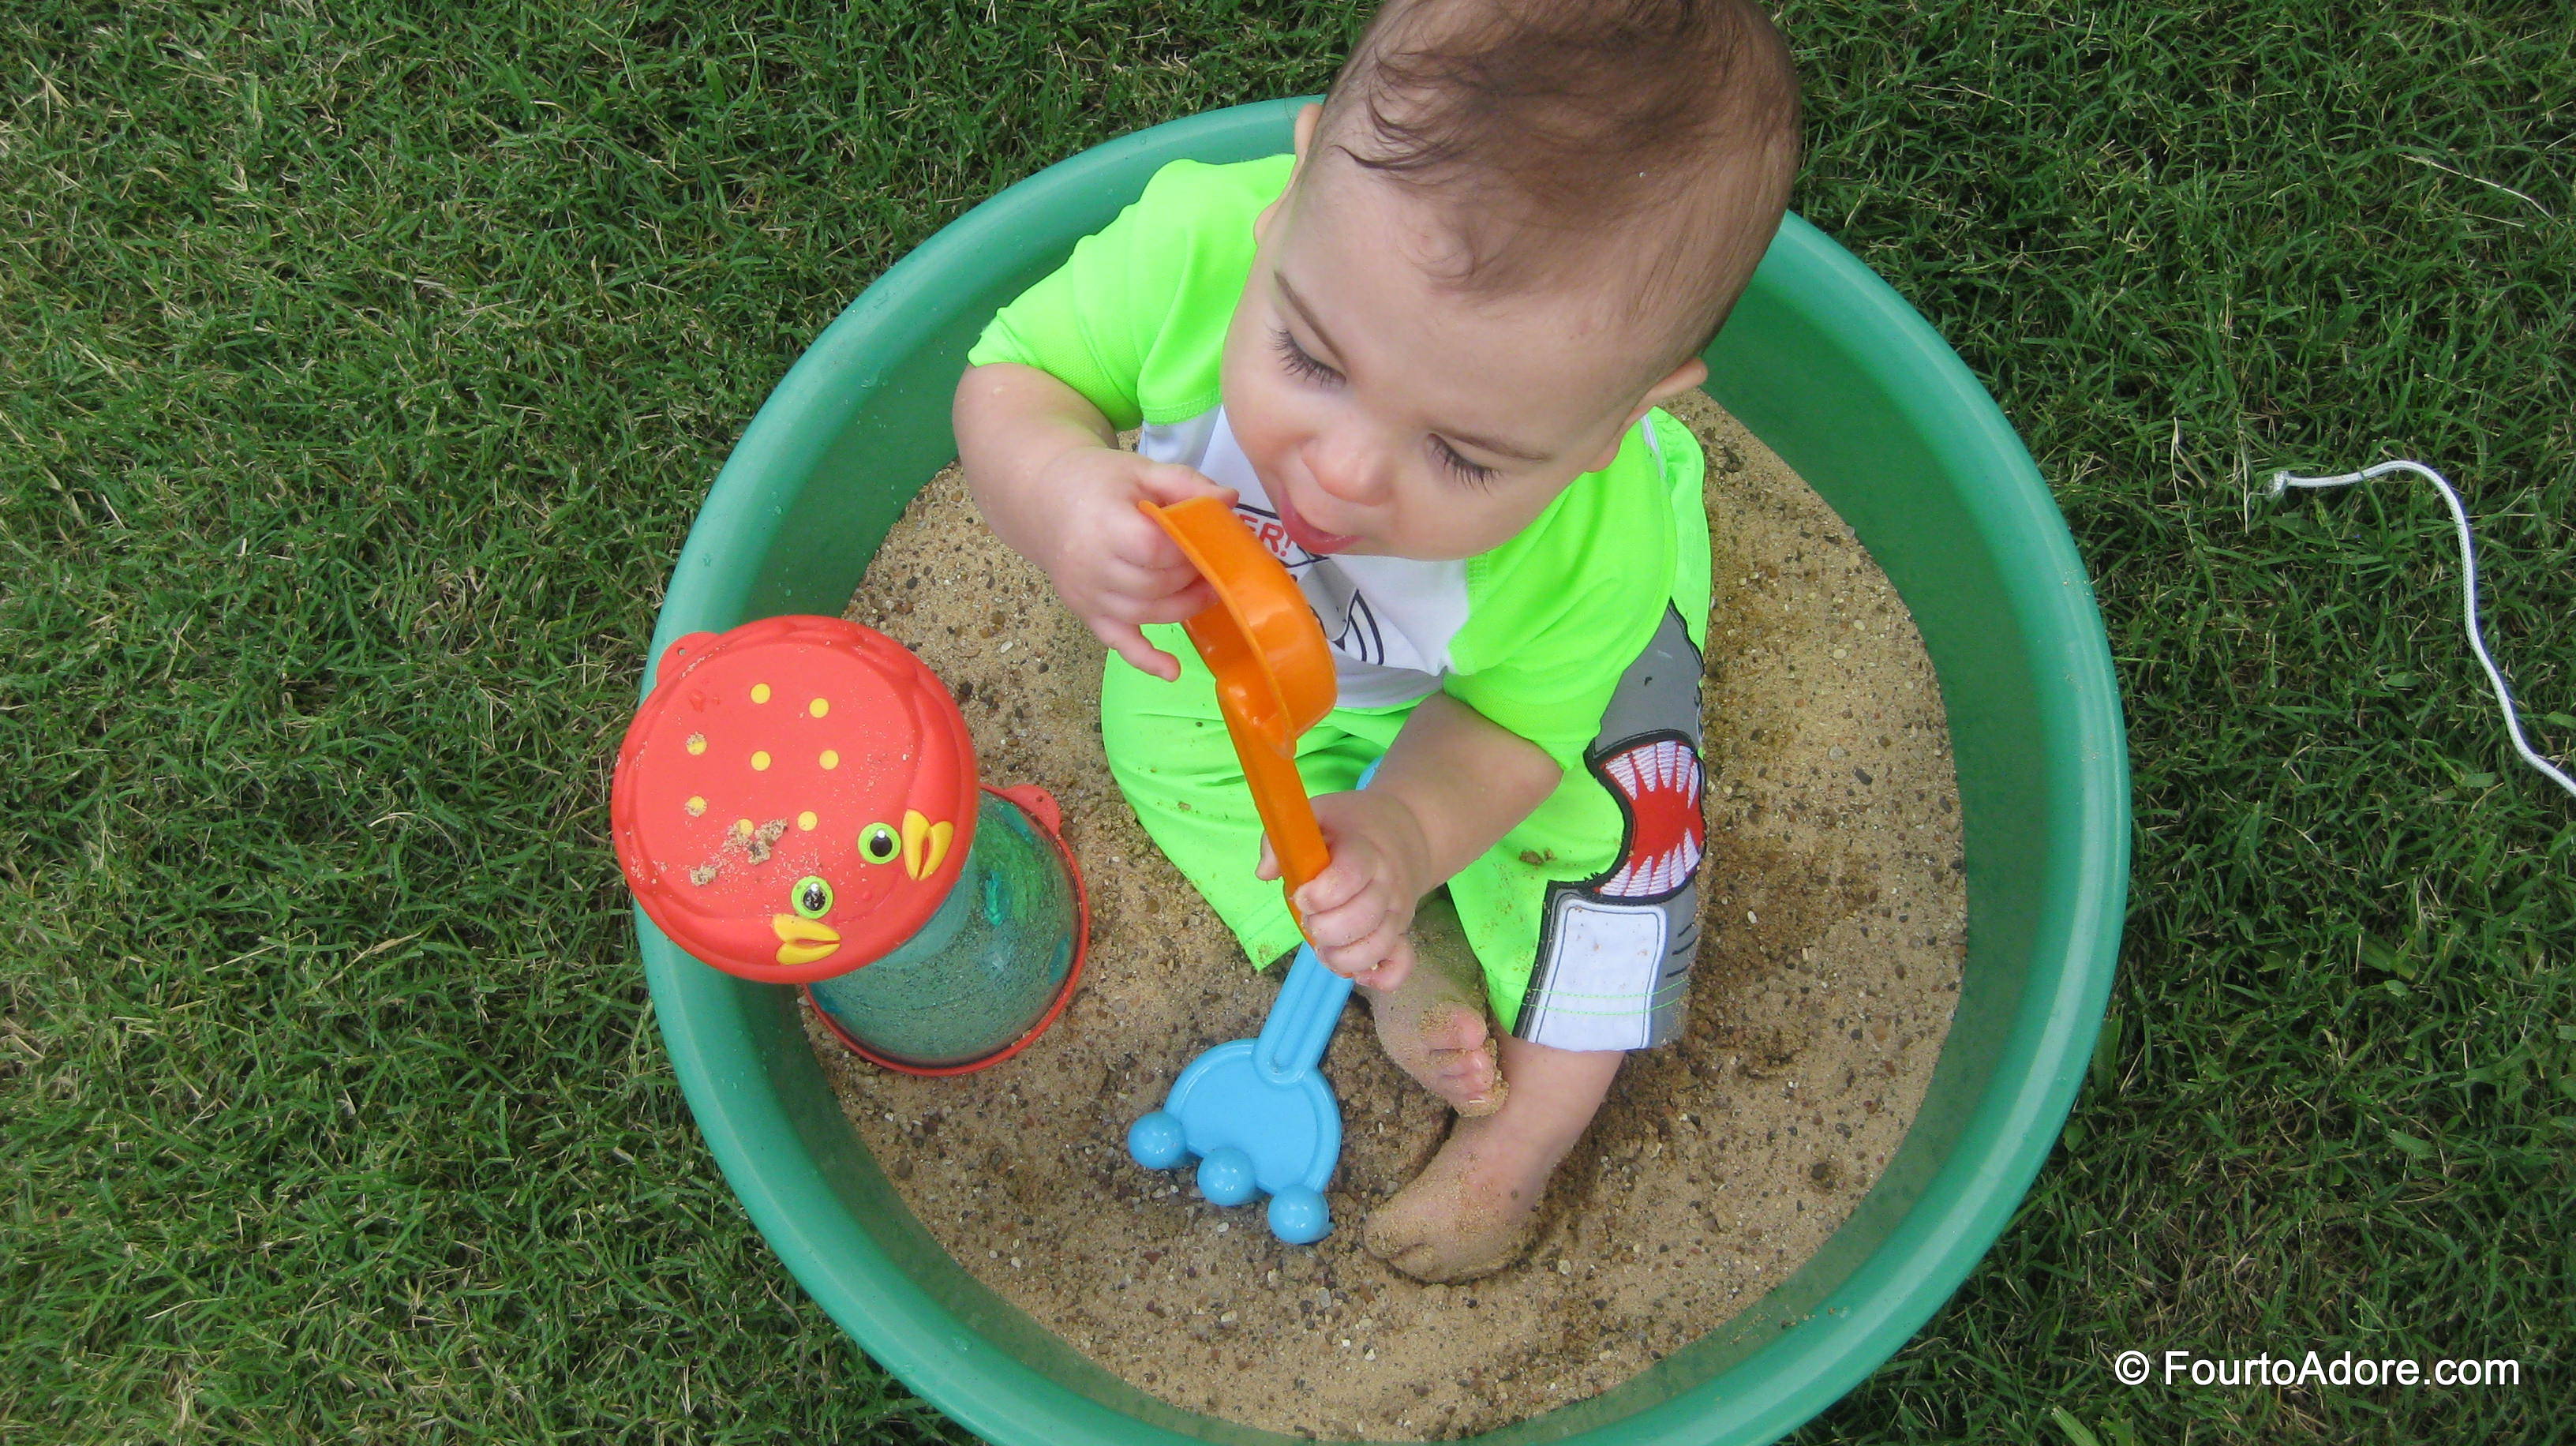
Harper may have taken a teeny taste of sand…

Needless to say, some babies enjoyed the sand more than others…
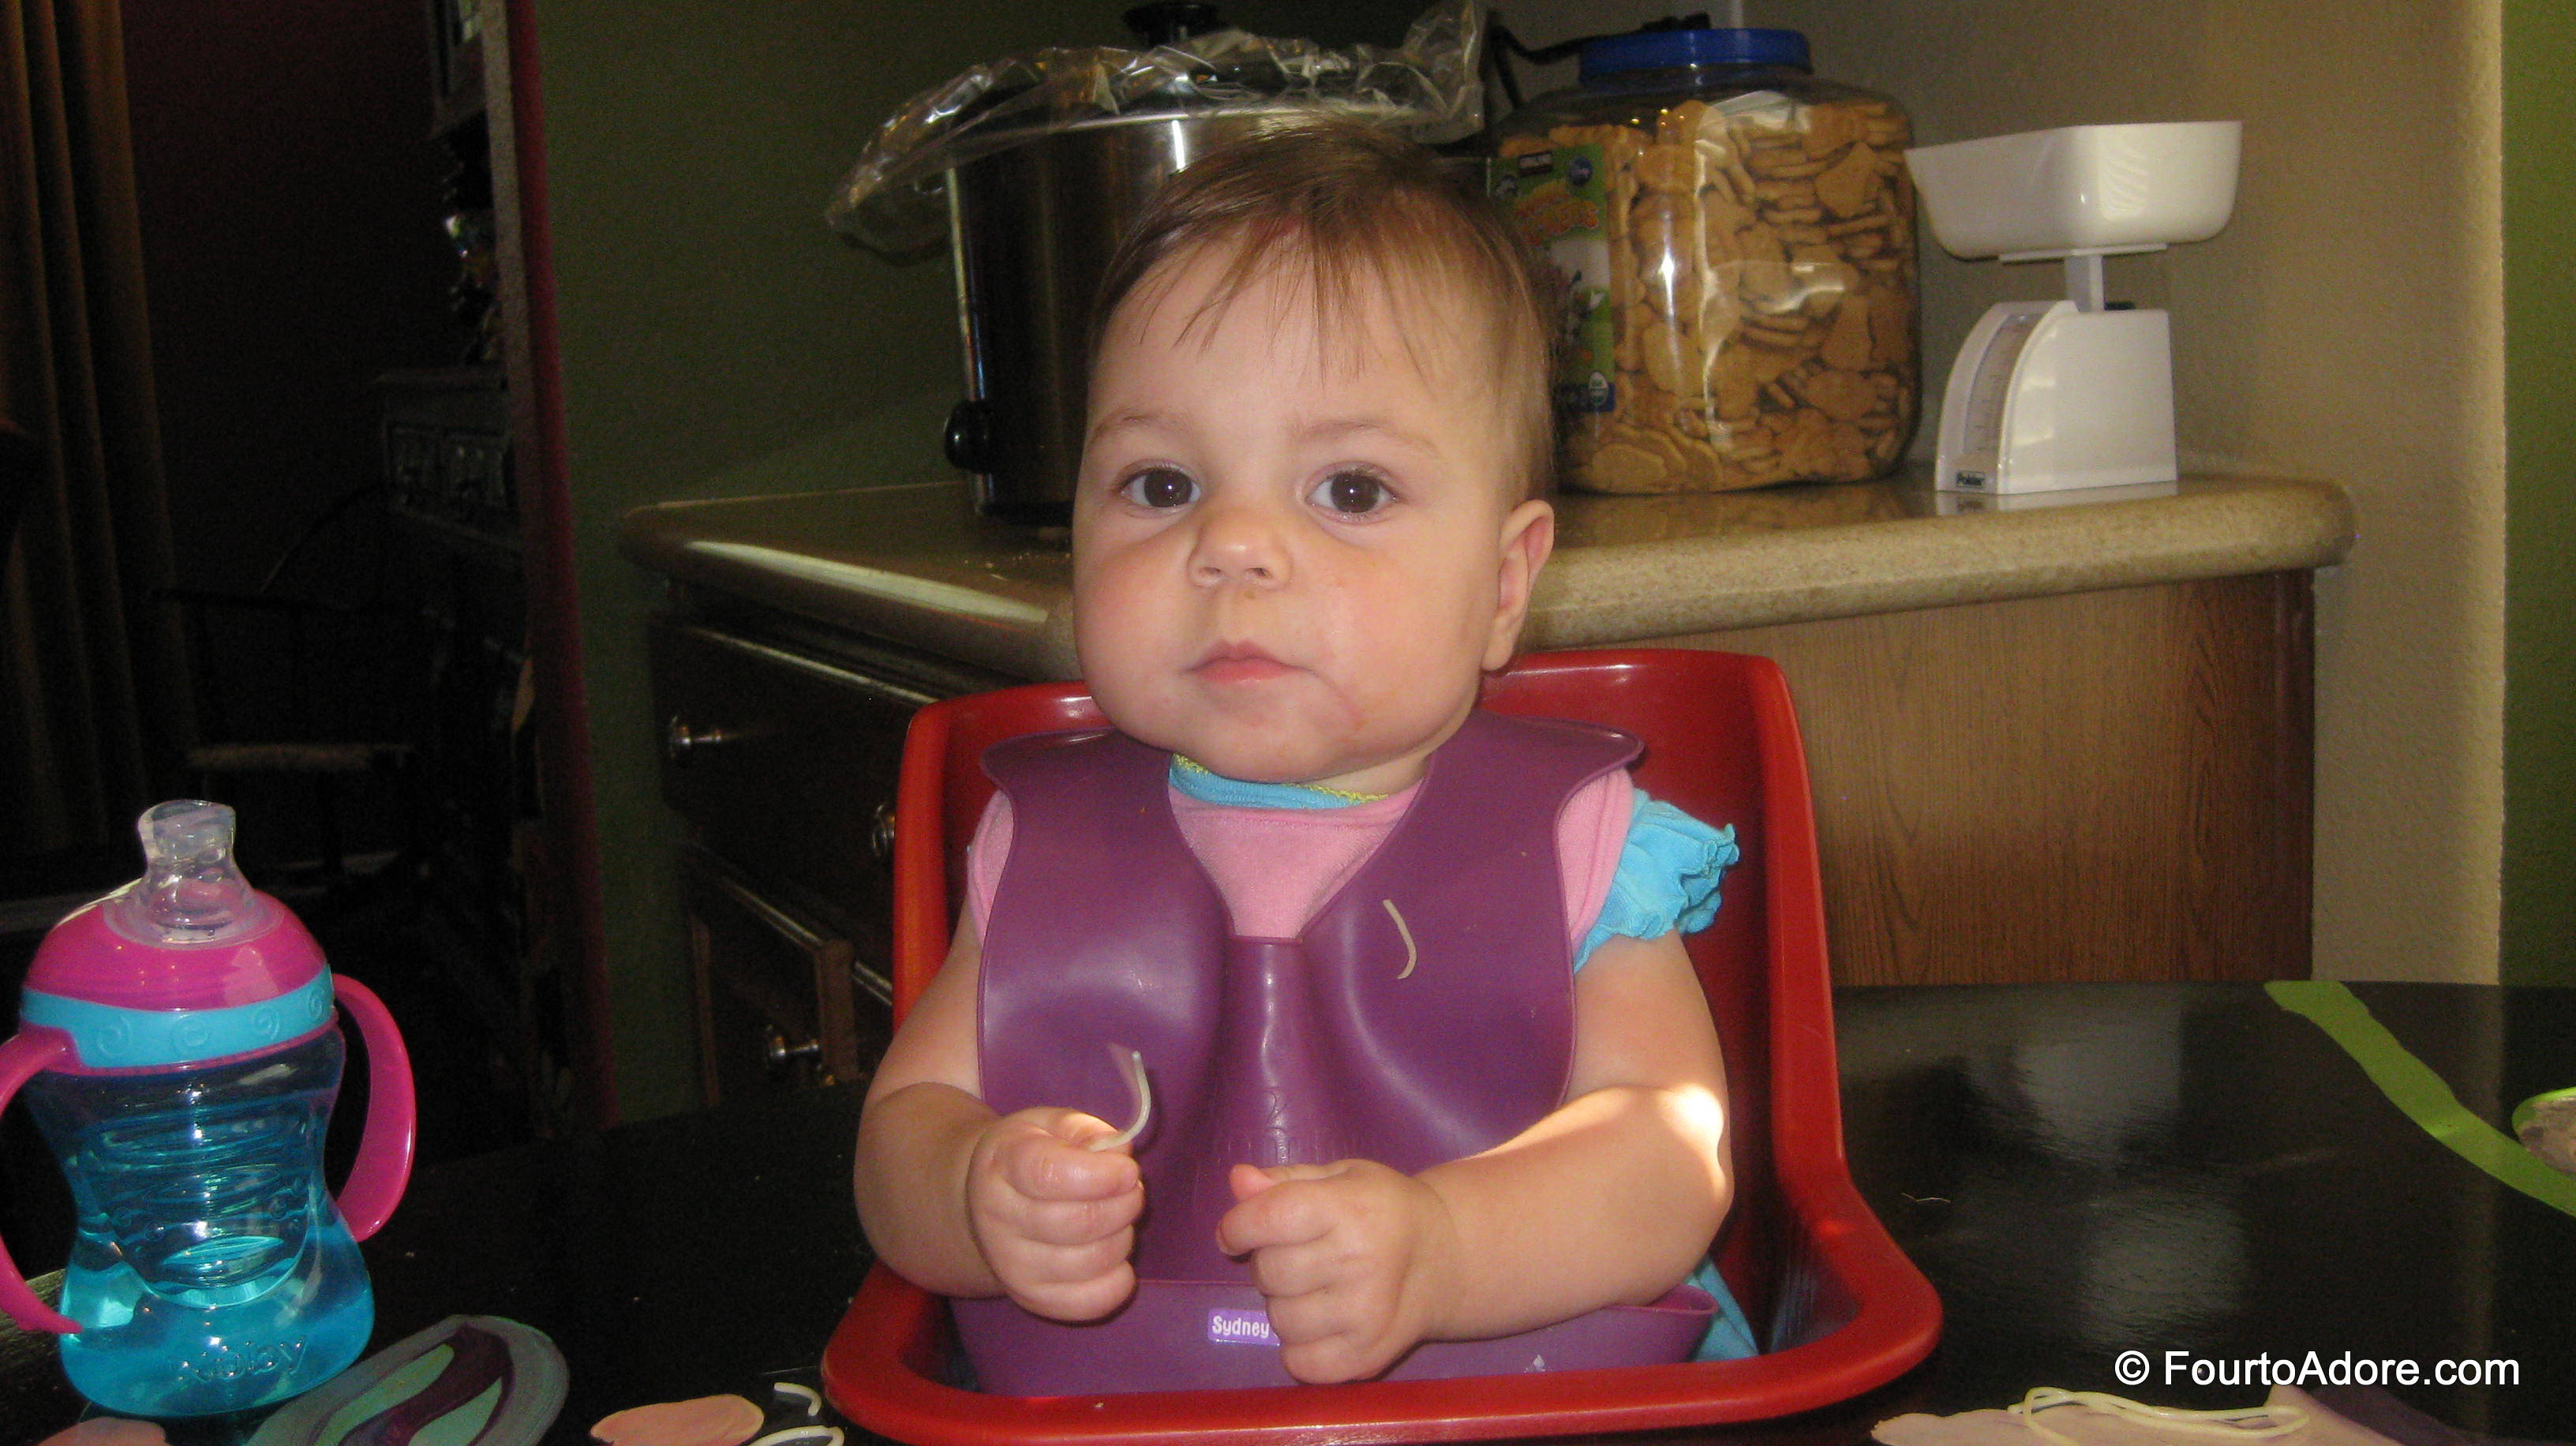
One night George and I had an abundance of left over angel hair pasta noodles so it became time for yet another sensory play activity.
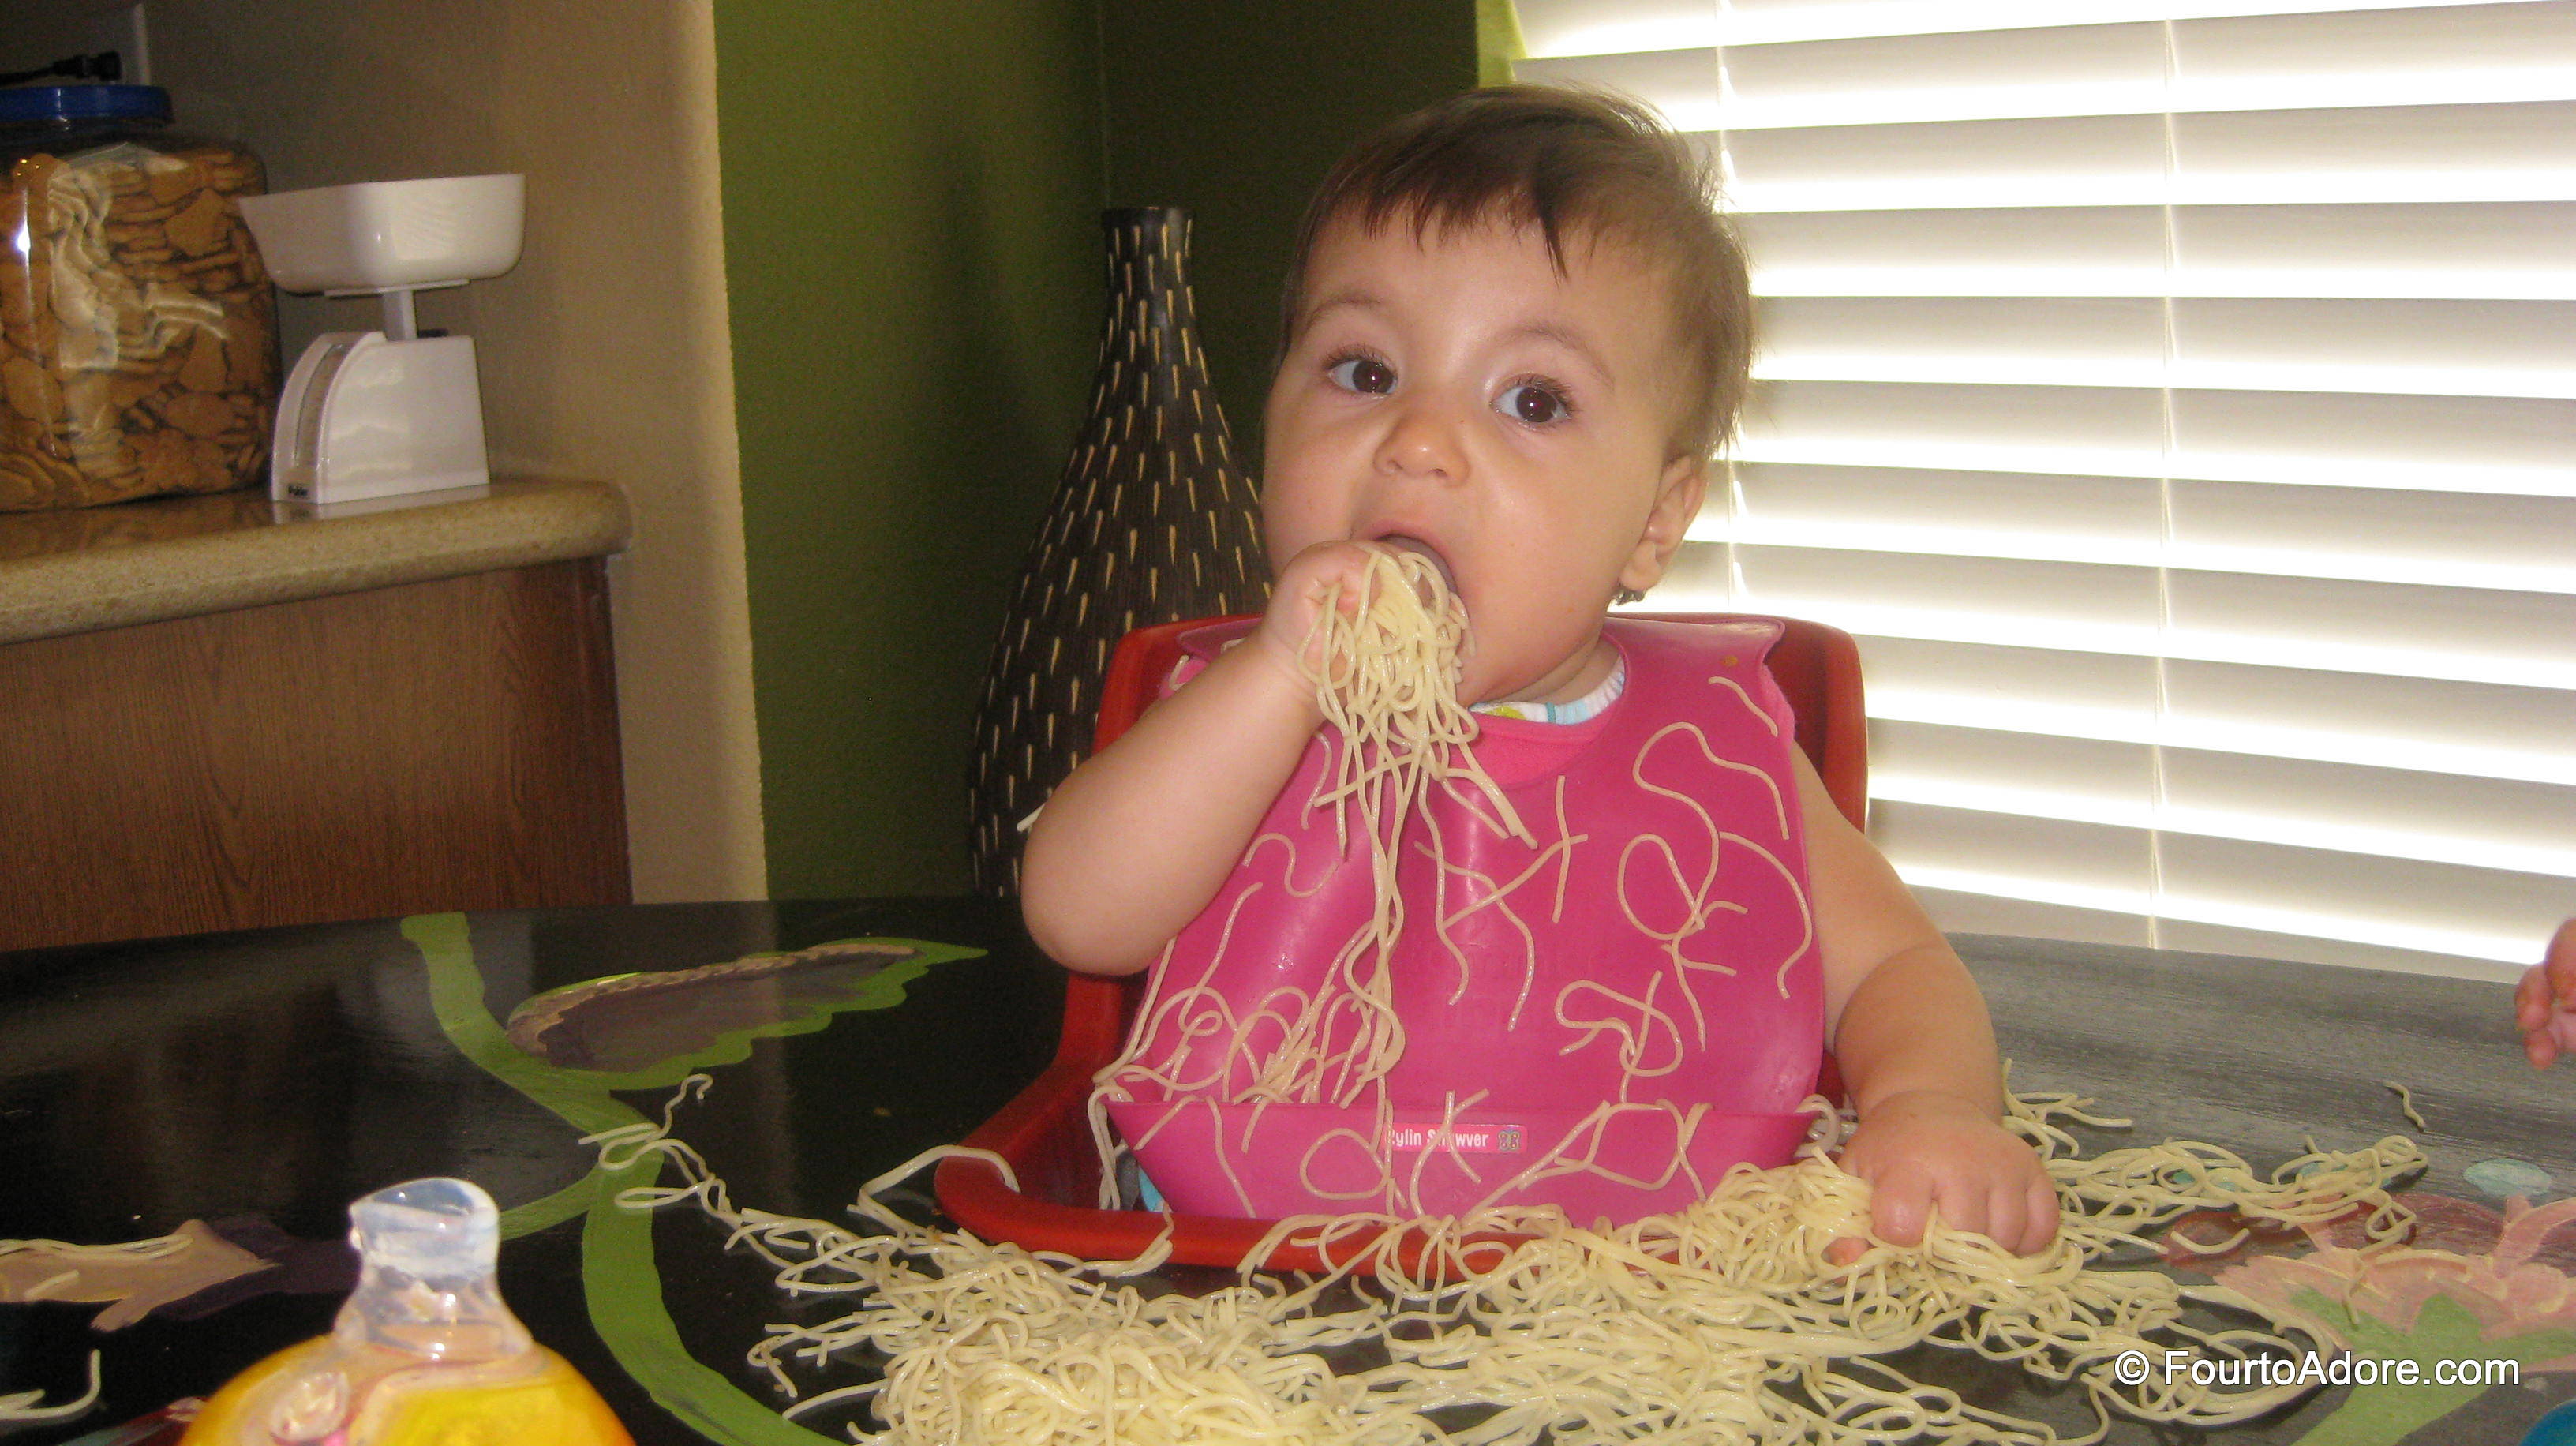
Rylin tackled spaghetti with reckless abandon!
Sydney delicately touched just one strand of spaghetti at a time.
This final activity was perhaps not my brightest moment. I searched for paint with water books (you know, the ones that look similar to coloring books with paint around the edges that brighten with a wet brush?). Instead, I found coloring books with water paint strips attached to the top. I thought it could work. Just like when I worked in preschool, I taped the paper to the table and used a large sponge brush dipped in water. First, I demonstrated dragging the damp brush across the top and over the paper, but the babies didn’t agree with this method. This is when our previous edible sensory play activities interfered. Instead of following my lead, the babies tore bits of paper off the table and proceeded to sample them. When Rylin attempted to eat more than the paper, she did not appreciate being reprimanded. There’s probably a good reason the recommended age for paint with water is three and up. I think we’ll save this for a few more years. In the meantime, maybe we’ll try that edible finger paint recipe I pinned.

Look closely at the tip of Rylin’s paint brush. Do you notice anything?
Stay tuned for more in this series: DIY projects, parents getaway, and Friday field trips. How did you spend your summer?
hugs!
Amber
PS- If you can’t get enough of Four to Adore, don’t forget to follow us on Facebook, Twitter, and Pinterest!


